
Dry sieve analysis is one of the simplest ways to measure the particle size distribution of a dry powder or granular material. A sample is placed on a stack of test sieves, the sieves are shaken, and the material retained on each screen is weighed.
The principle is straightforward. The more important question is whether the material can actually separate properly under dry conditions.
A dry, free-flowing granular sample may give a clear and repeatable size distribution. A fine powder that forms agglomerates, sticks to the mesh or blinds the openings can produce a very different result, even when the same sieve sizes are used.
For this reason, a useful dry sieve analysis starts before the sieve shaker is switched on. You first need to decide whether dry sieving is the right test method for the material.
What Does Dry Sieve Analysis Actually Measure?
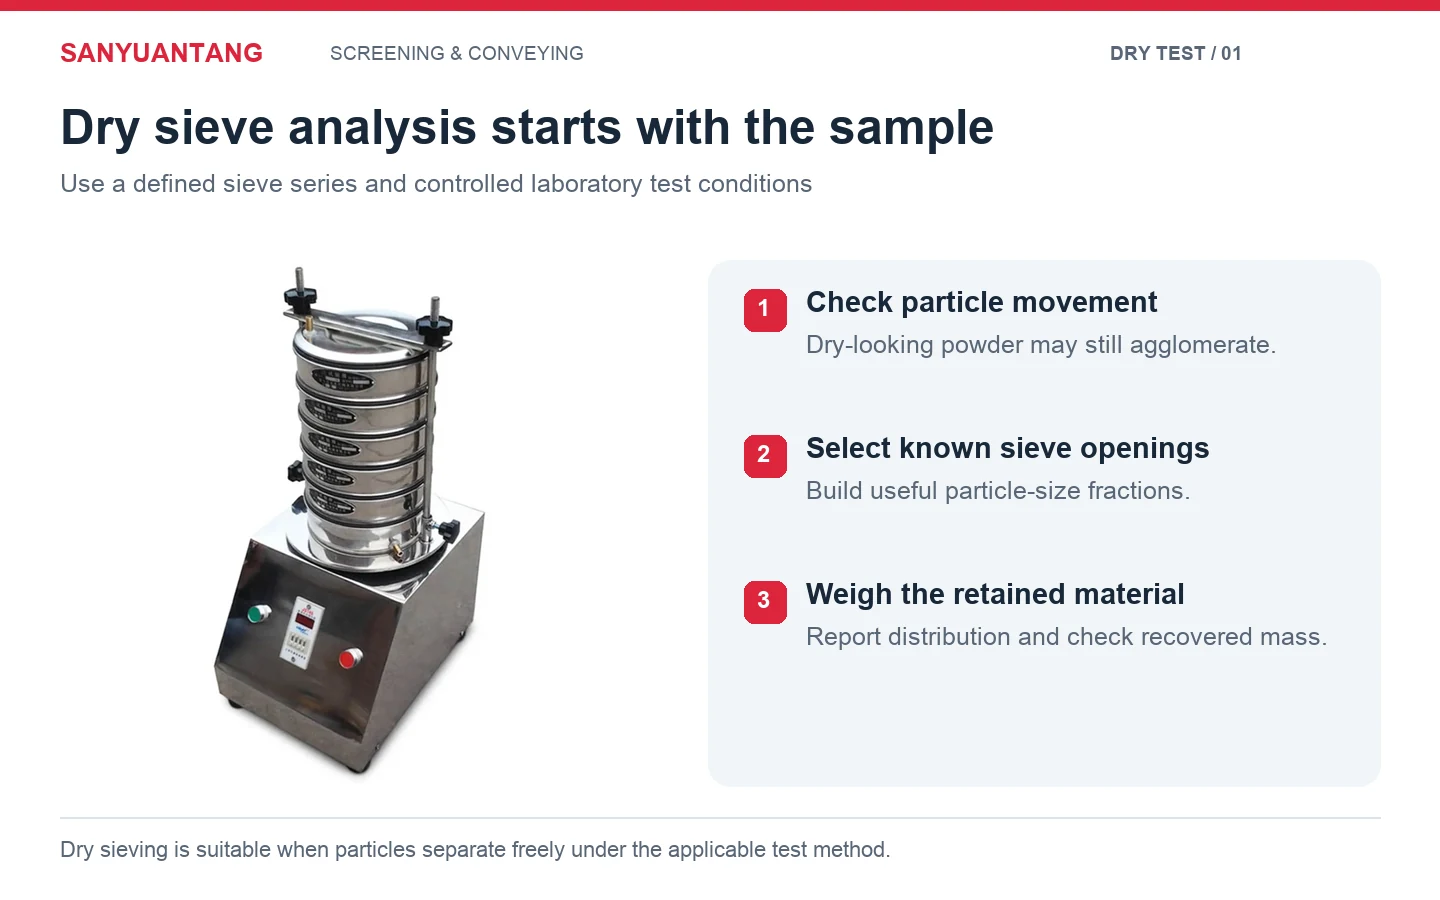
Dry sieve analysis separates a sample into particle-size fractions according to whether particles pass through or remain on known sieve openings.
A typical stack places the largest opening at the top and progressively smaller openings below it, with a collecting pan at the bottom. During the test, particles move across the mesh surface. Smaller particles pass through suitable openings, while larger particles remain on the corresponding sieve.
After sieving, the retained material is weighed. These values can then be expressed as percentage retained, cumulative percentage retained and percentage passing.
The result is not simply one particle-size number. It shows how the sample is distributed across a series of sieve-size ranges.
This makes dry sieving useful for routine work such as incoming-material inspection, production batch comparison, checking grinding or crushing results, and verifying whether a material remains within a specified particle-size range.
But the result only represents the material correctly if individual particles are able to separate during the test.
When Is Dry Sieve Analysis the Right Method?
Dry sieving works best when the sample is dry enough to flow and the particles can move independently across the sieve surface.
That does not mean every dry-looking powder is automatically suitable.
Fine particles may carry enough moisture to stick together. Very light powders can behave differently from dense granules. Some materials form soft agglomerates during storage, while others adhere to the sieve wire or become difficult to move because of electrostatic effects.
Before testing, look at how the sample behaves rather than only at its material name.
| Sample Condition | Dry Sieve Analysis | What to Check |
|---|---|---|
| Dry, free-flowing granules | Usually suitable | Correct sieve series and sample loading |
| Free-flowing powder with clearly separated particles | Usually suitable | Fine sieve blinding during the test |
| Powder with visible agglomerates | Requires caution | Whether agglomerates represent real particles or loose clusters |
| Damp or sticky material | Often problematic | Applicable preparation or alternative method |
| Fine particles coating larger particles | Dry result may appear too coarse | Whether dispersion is required |
| Material strongly affected by static | Requires evaluation | Particle adhesion and incomplete passage |
| Friable particles that break easily | Requires controlled conditions | Excessive mechanical action |
| Material that cannot contact a liquid safely | Wet sieving may not be appropriate | Use the applicable test method |
The practical question is simple: are you measuring individual particles, or are you measuring the way those particles happen to stick together during the test?
That distinction matters most with fine powders.
How to Perform a Dry Sieve Analysis
There is no universal sample weight, shaking time or drying temperature that applies to every material.
A metal powder, aggregate, chemical powder and pharmaceutical material may each be controlled by different test procedures. The applicable standard, customer specification or internal quality-control method should therefore take priority.
The following is a general workflow rather than a replacement for a material-specific standard.
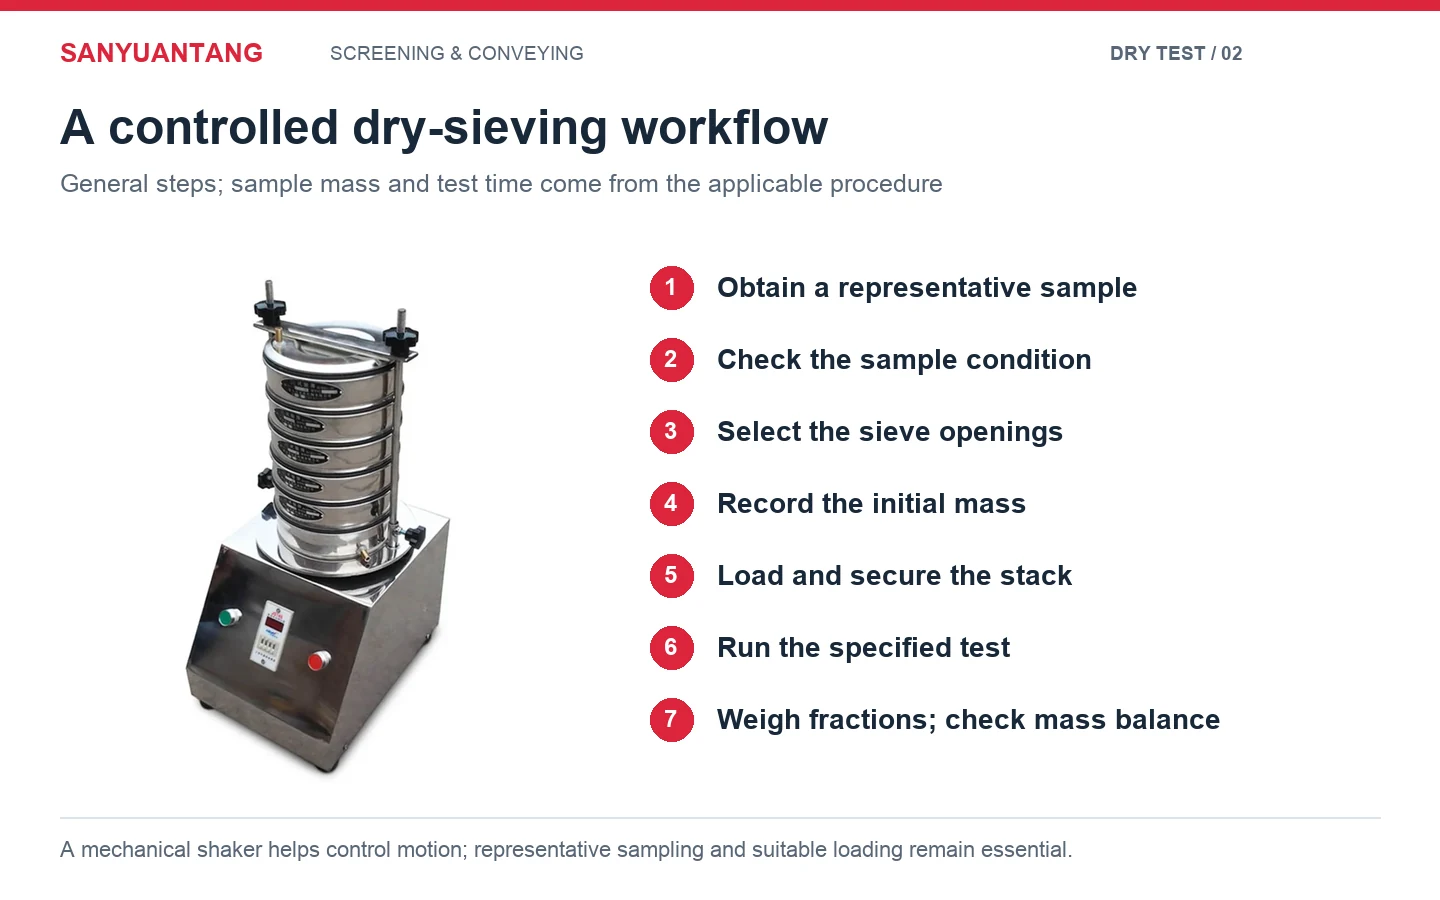
1. Obtain a Representative Sample
The test portion must represent the bulk material.
Powders and granules can segregate during filling, transport and storage. Coarse particles may concentrate in one area while fines collect somewhere else. Taking a convenient scoop from the top of a container can therefore produce a good sieve test of a bad sample.
Use an appropriate sampling and sample-reduction method where required.
This part of the process is easy to underestimate. A precise balance and calibrated test sieve cannot correct an unrepresentative sample.
2. Check the Sample Condition
Before selecting the sieve stack, inspect the material.
Look for:
- visible moisture;
- lumps or agglomerates;
- particles coating one another;
- poor flow;
- static adhesion;
- foreign material;
- obvious changes caused during storage.
If sample preparation is required, follow the applicable test procedure. Do not automatically oven-dry every material at the same temperature or break every agglomerate by hand. Either action may change the material you intended to measure.
3. Select the Sieve Openings
Choose sieve sizes that cover the particle range and specification you actually need to evaluate.
Arrange the largest opening at the top, followed by progressively smaller sieves and the collecting pan.
Using more sieves does not automatically produce a better test. The sieve series should divide the material into useful fractions.
If the specification is concerned with only a few critical cut sizes, those openings deserve more attention than building an unnecessarily large stack.
4. Record the Initial Sample Mass
Weigh the test portion and record the value before sieving.
This provides the reference mass used later to calculate retained percentages and to check whether significant material has been lost during handling or testing.
The sample also needs to fit the selected sieves properly.
Too much material can create a deep bed over the mesh. Particles below the surface then have fewer opportunities to reach an opening, which may slow separation and make the retained fraction appear larger than it should.
5. Load and Secure the Sieve Stack
Place the sample on the upper sieve without spilling material around the frame. Install the lid and secure the complete stack according to the sieve shaker operating procedure.
Before starting, inspect the sieves for visible damage, loose mesh or blocked openings.
A nominal sieve size is only useful when the sieve itself remains in suitable condition.
6. Run the Test Under Controlled Conditions
Apply the sieving motion specified by your test method.
For routine quality-control work, keeping the operating conditions consistent is often more useful than repeatedly changing the shaking time in an attempt to force more material through the screen.
The required test duration depends on the material, sieve opening, sample loading, equipment and applicable standard.
Longer is not always better.
If a material is fragile, excessive mechanical action may break particles during testing. In that case, the particle-size distribution at the end of the test may no longer represent the original sample.
7. Weigh Each Fraction and Check the Mass Balance
After the test, remove the sieves carefully and weigh the material retained on each sieve and in the collecting pan.
Compare the total recovered material with the initial sample mass.
An unexpected difference should be investigated rather than ignored. Material may have escaped, remained attached to the equipment, been lost during transfer or been weighed incorrectly.
For formal QC work, follow the acceptance requirements defined by the applicable procedure.
Why Can Dry Sieve Analysis Give Misleading Results?
When a dry sieve test gives an unexpected result, the sieve opening is not always the problem.
In practice, the first thing to check is how the material behaved during the test.
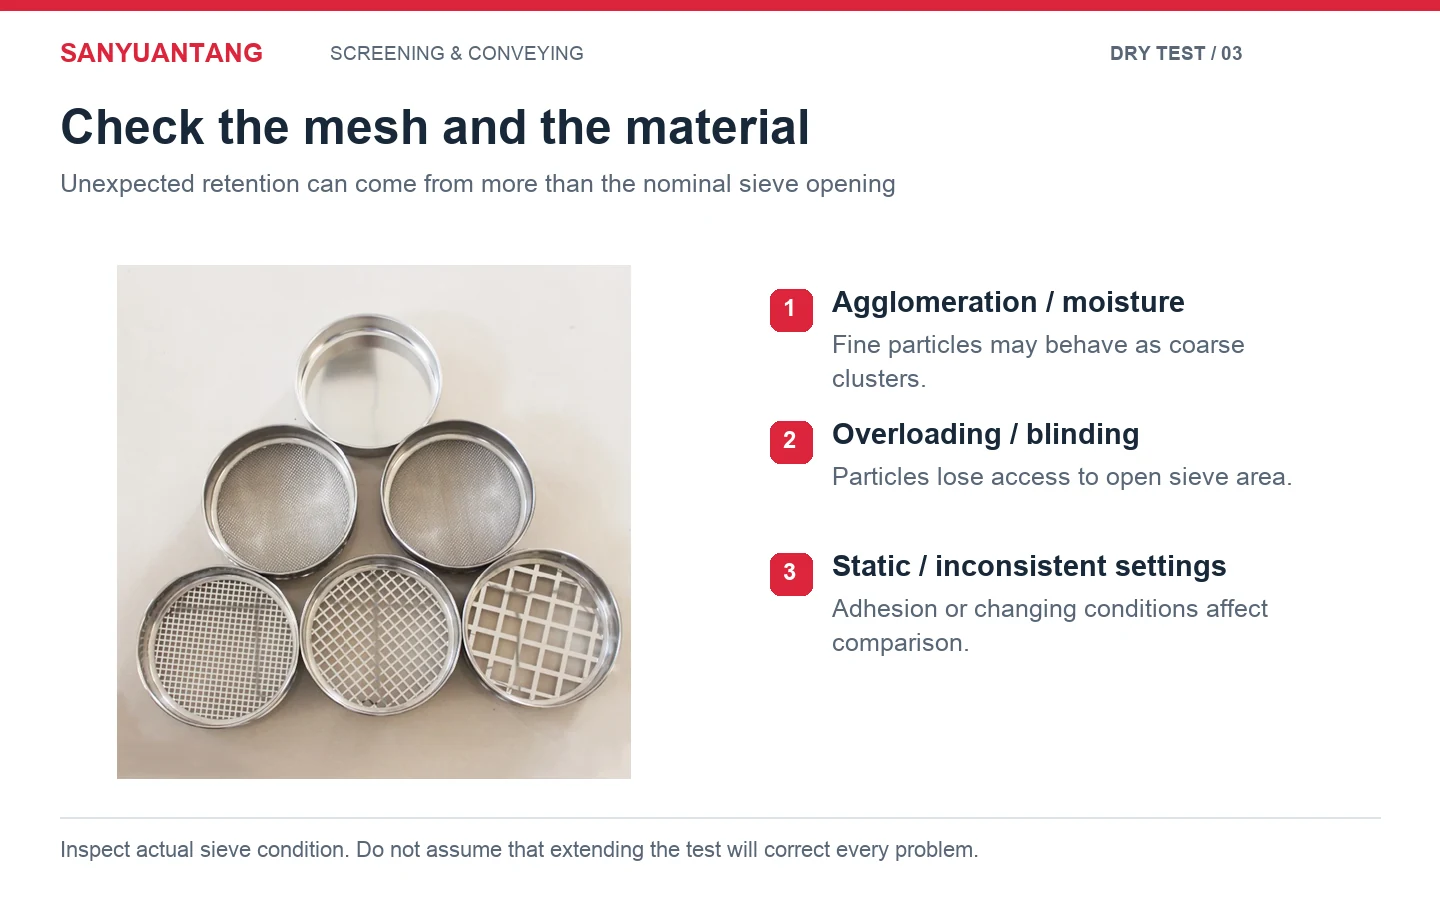
Agglomeration Can Make the Material Look Coarser
Suppose several fine particles form a loose cluster.
The cluster may remain on a relatively large sieve even though the individual particles could pass through it. The reported distribution then shifts toward the coarse side.
This is one reason dry sieving can become unreliable for some cohesive fine powders.
Moisture Can Change Particle Movement
Even a relatively small amount of moisture can increase adhesion in certain powders.
Particles may stick to one another, adhere to the mesh or accumulate around openings. The test then measures a combination of particle size and material condition.
If one batch flows freely and another arrives damp, directly comparing the two results without considering sample condition may be misleading.
Sieve Overloading Restricts Access to the Mesh
A thick material layer prevents all particles from reaching the screen surface efficiently.
This can be particularly important on finer sieves, where the passage rate is already lower.
Adding more sample may feel like a way to make the test more representative, but an overloaded sieve can create another source of error. Representative sampling and suitable sieve loading are two separate requirements.
Mesh Blinding Reduces the Effective Open Area
Particles close to the opening size may lodge in the mesh. Sticky or cohesive material can also cover openings.
Once this happens, the usable screening area becomes smaller.
A sieve may still be labeled with the correct nominal opening, but the material is no longer seeing the full open area that was available at the beginning of the test.
Static Can Hold Fine Powder on the Sieve
With some dry, lightweight powders, particles may cling to the mesh, frame or other particles instead of moving freely.
Do not assume that increasing the shaking time will automatically solve this condition.
The first question should be whether the powder can be analyzed reliably with the selected dry method.
Test Conditions Are Not Consistent
Changing sample quantity, shaking time, sieve stack or preparation method between tests makes batch-to-batch comparison more difficult.
This is especially important in routine QC.
A procedure becomes useful when the operating conditions are defined and repeatable—not when every operator adjusts the test until the result “looks right.”
Need Help With Your Dry Sieving Condition?
If you are not sure whether the problem comes from the mesh, sample condition or the material itself, send Sanyuantang the material name, approximate particle-size range, required sieve openings, sample amount and a description of the problem.
For difficult powders, information about moisture, agglomeration, static behavior and your current test method is also useful. Our team can review the application before discussing the test sieve or shaker configuration.
Email: info@sanyuantang.com
Phone: +86-18639095165
Dry Sieve Analysis vs. Wet Sieve Analysis
Wet sieving should not be treated as the automatic next step whenever a dry test is slow.
The reason for changing methods should come from the material behavior and the applicable testing requirement.
Dry sieving is commonly used when particles can separate mechanically without a liquid. Wet sieving may be considered when fine particles remain attached to larger particles or persistently agglomerate under dry conditions and the specified test method permits liquid-assisted separation.
The liquid itself introduces another question: is it compatible with the sample?
A material may dissolve, swell, react or otherwise change when exposed to a particular liquid. In those cases, washing the sample through a sieve would not necessarily give a more meaningful result.
| Condition | Dry Sieving | Wet Sieving / Other Method |
|---|---|---|
| Dry and free-flowing | Usually the first method to consider | Usually unnecessary |
| Persistent fine-particle agglomeration | May give a coarse-biased result | Consider if the method permits dispersion |
| Fine particles coating coarse particles | Separation may be incomplete | Wet method may help if compatible |
| Water-soluble material | Dry method may be preferable | Water cannot simply be assumed suitable |
| Sticky material | Often difficult | Method must be selected for the material |
| Very fine material outside a useful sieve-testing range | May be limited | Another particle-size method may be more appropriate |
There is no single particle-size number at which every material must switch from dry to wet analysis.
The material, required measurement range and test standard matter together.
Which Standards Apply to Dry Sieve Analysis?
This is an area where different standards are often mixed together.
ASTM E11 specifies technical requirements for woven-wire test sieve cloth and test sieves. ISO 3310-1 similarly specifies technical requirements and test methods for test sieves made from metal wire cloth.
These standards help define the measuring equipment.
They are not one universal dry sieve analysis procedure for every powder or granular material.
A material may have its own testing standard. ASTM B214, for example, covers dry sieve analysis of metal powders under defined conditions. Aggregates and other materials use different methods.
Before establishing a QC procedure, confirm:
- which standard applies to the material;
- how the sample should be prepared;
- which sieve openings are required;
- the permitted sample quantity;
- the specified test conditions;
- how the results should be reported.
Avoid taking a procedure written for one material and treating it as a general rule for another.
How Are Dry Sieve Analysis Results Calculated?
Once the retained mass on each sieve is known, the basic calculations are straightforward.
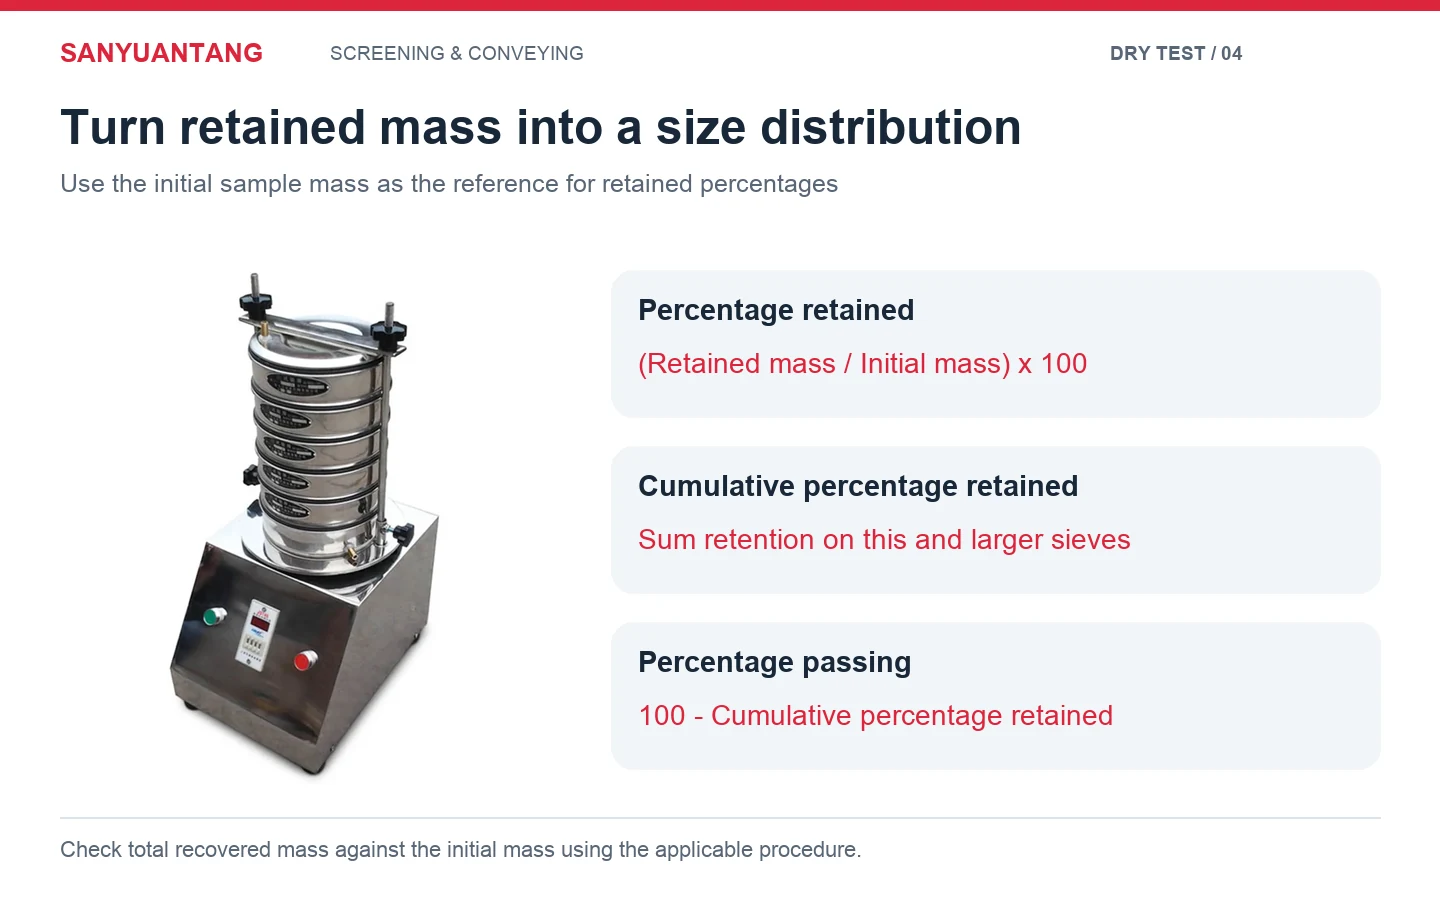
Percentage Retained
Percentage Retained = (Mass Retained on the Sieve ÷ Initial Sample Mass) × 100
Cumulative Percentage Retained
Add the percentage retained on that sieve to the percentages retained on all larger sieves above it.
Percentage Passing
Percentage Passing = 100 − Cumulative Percentage Retained
If you need a complete calculation example with a multi-sieve table, see our Sieve Analysis: A Practical Guide to Particle Size Testing.
Do You Need a Mechanical Sieve Shaker?
For occasional testing, manual sieving may be allowed by some procedures. For routine QC, a mechanical sieve shaker helps apply more controlled test motion and reduces differences caused by operators shaking the stack differently.
Sanyuantang's Lab Test Sieve Shaker is intended for particle-size distribution measurement in laboratory and quality-inspection applications using stacked test sieves.
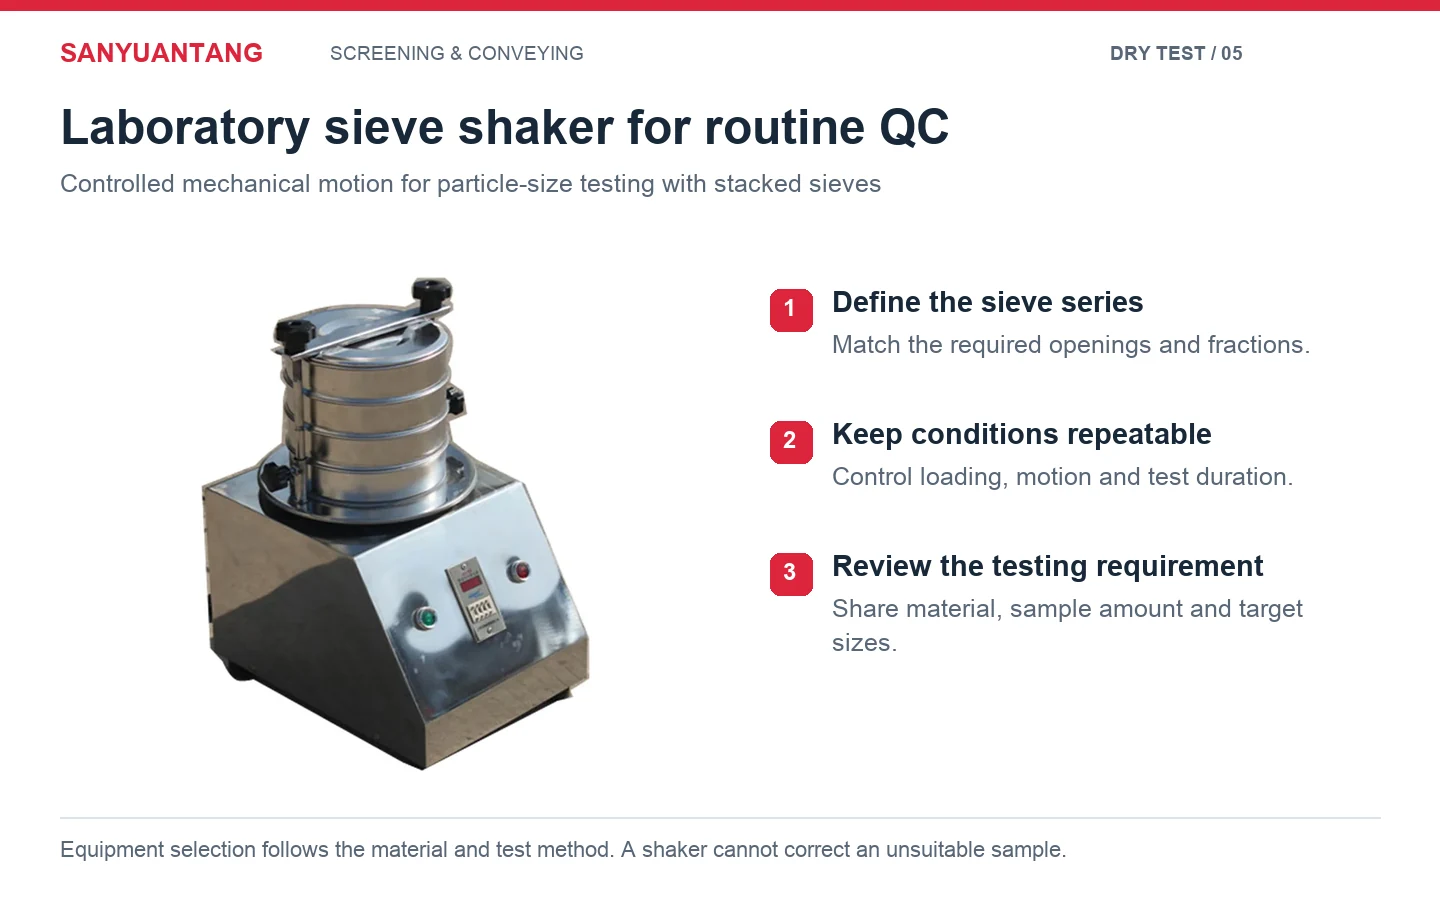
The equipment should still be selected around the test method.
A mechanical shaker cannot correct:
- a non-representative sample;
- an unsuitable dry-sieving method;
- excessive agglomeration;
- incorrect sieve selection;
- overloaded sieves;
- damaged mesh.
This is why we normally ask about the material and testing target before discussing the machine itself.
From Dry Sieve Analysis to Industrial Screening
A laboratory sieve result can be useful when planning production screening, but the two processes should not be confused.
Dry sieve analysis tells you how a small sample is distributed across specified sieve openings.
An industrial vibrating screen must continuously separate a production feed.
Knowing that a product requires a 500 μm cut, for example, does not tell an equipment manufacturer everything needed to select the production machine.
Industrial screen selection may also require:
- required capacity;
- bulk density;
- feed particle-size distribution;
- moisture;
- particle shape;
- number of finished fractions;
- material flow behavior;
- current mesh-blocking problems.
The laboratory result gives us valuable particle-size information. The production machine still has to handle the actual material flow.
Send Your Particle Size Testing Requirements
If you are setting up a new dry sieve analysis procedure or comparing laboratory sieve shaker options, prepare the following information:
- material name;
- approximate feed particle size;
- required sieve openings or mesh;
- sample amount;
- number of size fractions;
- moisture or material condition;
- applicable ASTM, ISO or internal testing standard, if known;
- current testing problem;
- photos or videos if available.
For difficult materials, a sample can be more useful than selecting equipment from a catalog alone. Sanyuantang offers material-testing options for screening applications and can review the material behavior before a configuration is finalized.
Email: info@sanyuantang.com
Phone: +86-18639095165
Frequently Asked Questions
Can dry sieve analysis be used for fine powders?
Yes, but particle size alone does not determine suitability. Fine powders that remain dry and separate freely may be tested by sieving, while cohesive, agglomerating or static-sensitive powders can give misleading results. The useful testing range should be determined from the material behavior and applicable test method.
How long should a dry sieve analysis run?
There is no universal sieving time for every material. Test duration depends on the sample, particle size, sieve openings, loading, shaker and applicable standard. For routine QC, use the specified method and keep conditions consistent rather than simply extending the test until more particles pass.
What is the difference between dry and wet sieve analysis?
Dry sieving relies on mechanical movement to separate particles through test-sieve openings. Wet sieving uses a compatible liquid to assist separation where permitted, especially when fine particles remain agglomerated or attached during dry testing. The correct method depends on both the sample and the applicable test procedure.
Does ASTM E11 specify the complete dry sieve analysis procedure?
No. ASTM E11 primarily defines requirements for woven-wire test sieve cloth and test sieves. The complete testing procedure may come from another material-specific standard. Metal powders, aggregates, soils and other materials should not automatically be tested using the same preparation, sample mass or sieving conditions.
Why does my dry sieve result appear coarser than expected?
Check the sample before assuming the sieve is wrong. Agglomeration, moisture, fine particles coating larger particles, mesh blinding and excessive loading can all prevent smaller particles from passing efficiently. Damaged sieves and inconsistent test conditions should also be investigated.
Can dry sieve analysis data be used to select an industrial vibrating screen?
It can provide useful particle-size distribution and target cut-size information, but it is not enough by itself. Industrial machine selection also depends on capacity, bulk density, moisture, particle shape, feed distribution, number of fractions and the actual screening behavior of the production material.
Conclusion
Dry sieve analysis works well when the sample can separate freely and the test conditions match the material and applicable procedure. If agglomeration, adhesion, moisture or persistent mesh blinding begins to control the result, simply increasing the shaking time is not a reliable solution.
Check the material first, then the method, the sieve condition and the test settings.
If you are unsure whether dry sieving is suitable for your powder, Sanyuantang can review your material, target sieve sizes and testing requirements before recommending a laboratory sieve shaker configuration or material test.
Email: info@sanyuantang.com
Phone: +86-18639095165