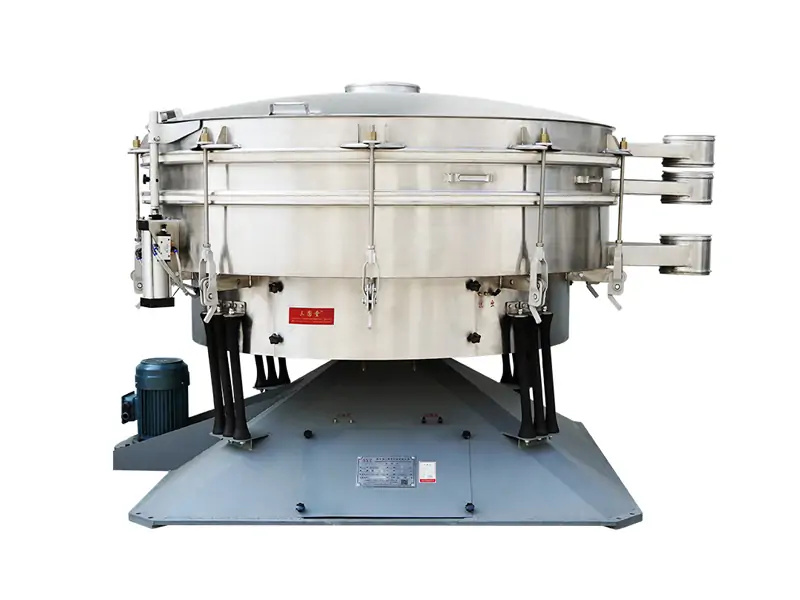
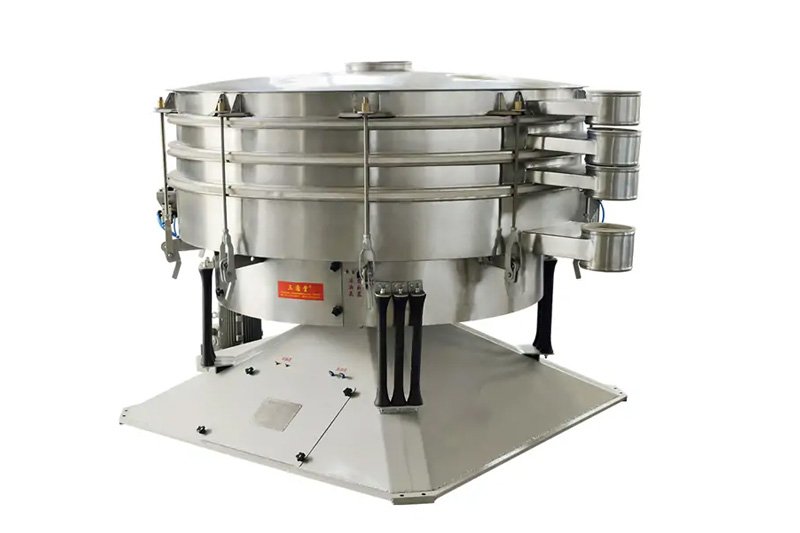
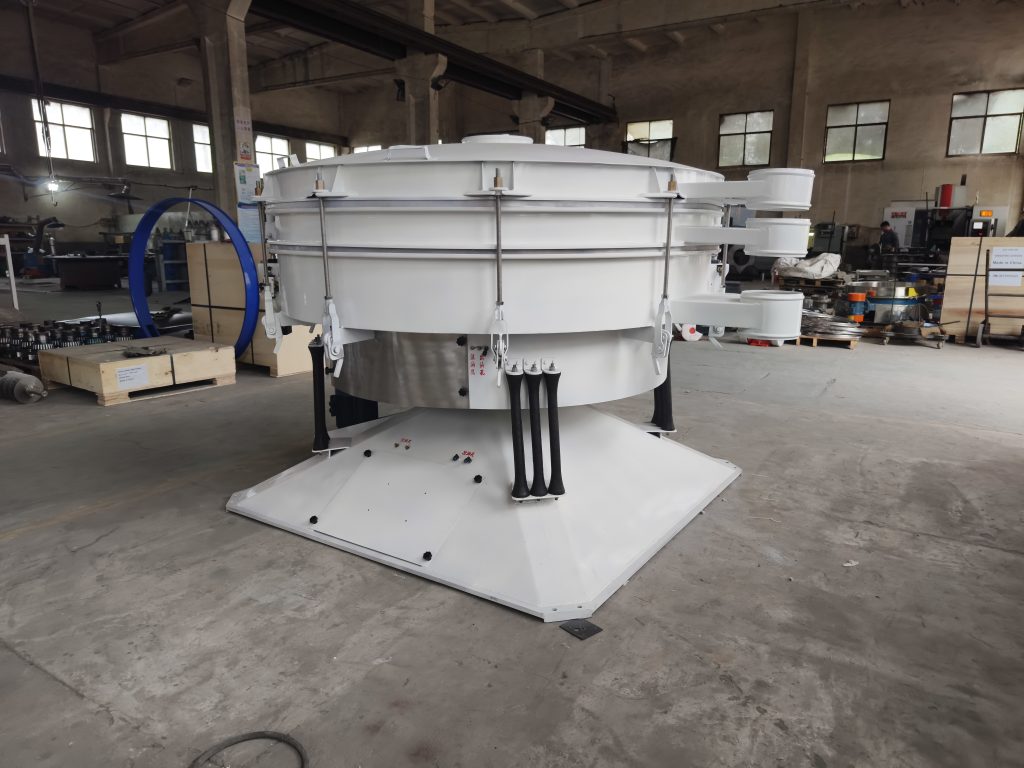
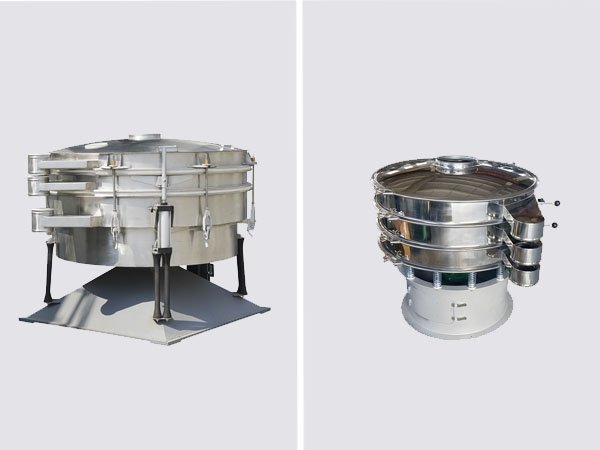
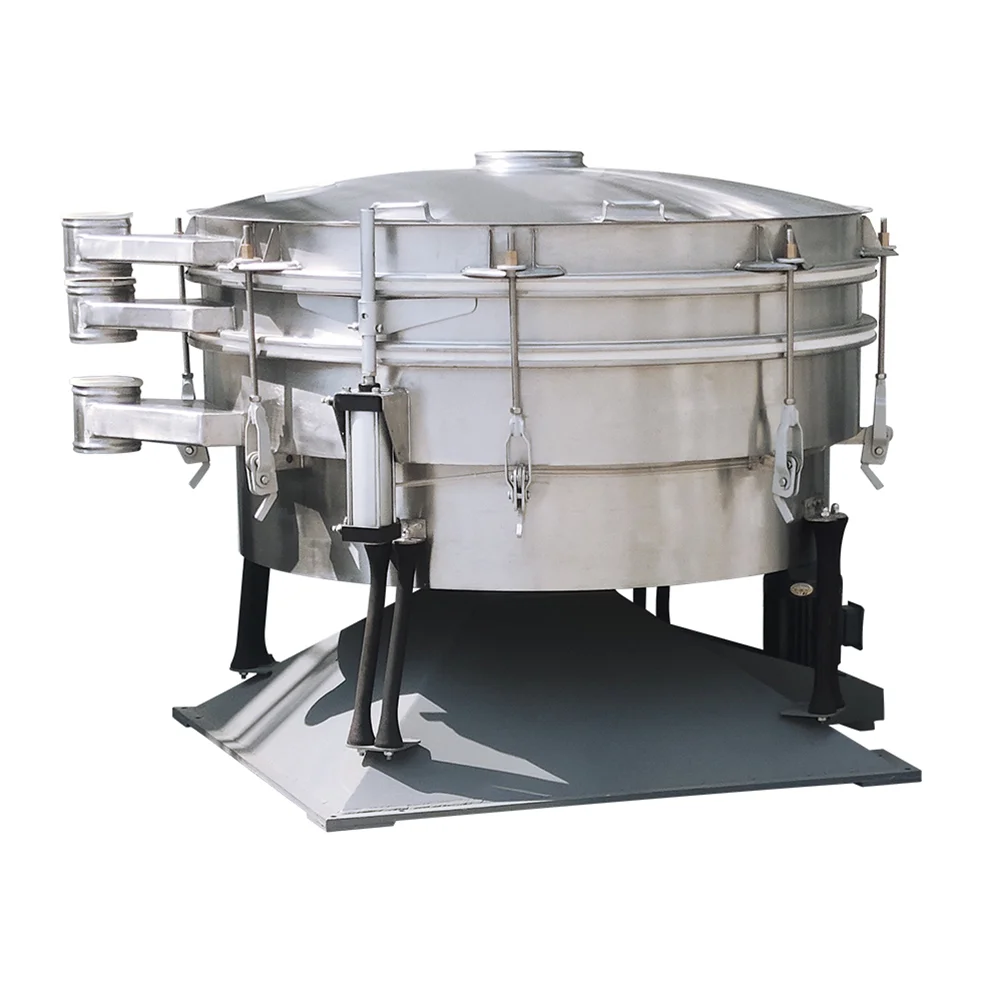
Tumbler screeners are essential for the precise separation of powders and particles across industries such as food, pharmaceuticals, and chemicals. Our tumbler screeners are fully assembled before shipment, ensuring a seamless installation process for users. While installation is hassle-free, replacing the screen during regular use may be necessary. This Installation Manual of Tumbler Screeners provides step-by-step guidance on how to efficiently replace the screen, ensuring optimal performance. Below, we offer a detailed explanation of the screen replacement process, highlighting key maintenance tips to extend the lifespan of your tumbler screener.

Safety Precautions
- Personal Protective Equipment (PPE): Ensure the installation team is equipped with appropriate PPE, including gloves, safety glasses, and hard hats.
- Electrical Safety: Always disconnect the power supply before working on electrical connections to avoid accidents.
- Handling: Use proper lifting equipment when moving heavy parts to prevent injury.
- Read Manual: Thoroughly read this installation manual of tumbler screeners before starting any work to understand all procedures and safety protocols.

Pre-Installation Checklist
Before proceeding with the installation, make sure the following items are ready:

Tools Required:
- Adjustable wrenches
- Screwdrivers
- Pliers
- Spirit level
- Torque wrench
Parts Inventory: Verify that all components—such as the screener frame, screen, motor, and bolts—are present and in good condition.
Work Area Preparation: Confirm the installation area is clean, level, and free of any obstructions to ensure smooth installation.
Screen Replacement and Installation Steps
Step 1: Power Off and Disassemble
- Before replacing the screen, ensure the tumbler screener is turned off and disconnected from the power supply to avoid electrical hazards.
- Loosen and remove the bolts securing the cover of the tumbler screener.
Step 2: Remove the Old Screen
- Lift the cover and carefully take out the existing screen. Inspect the screen frame for any signs of damage or wear.
- If the mesh is torn or clogged, it should be replaced to maintain the efficiency of the screener.

Step 3: Prepare the New Screen
- Align the new screen mesh with the frame, ensuring the mesh tension is even across the surface.
- Check that the screen size matches the product specifications to avoid performance issues.

Step 4: Install the New Screen
- Secure the new screen to the frame using the provided fasteners. Ensure the screen is tightly fixed, with no wrinkles or loose sections.
- Reattach the cover and tighten all bolts securely.

Step 5: Test the Screener:
- Reconnect the power and perform a test run at low speed.
- Check for any abnormal vibrations or sounds.
- Adjust the balance weights if necessary to ensure optimal screening movement.
- Gradually increase the speed and fine-tune the settings for peak performance.
Final Checks
- Verify that all bolts and fasteners are tightened to the recommended torque specifications.
- Ensure the screener is properly grounded and that all electrical connections are securely fastened.
- Double-check the equipment’s leveling to guarantee stable operation.

Maintenance and Operation
- Daily Checks: Regularly inspect for loose parts, wear on the mesh, and proper motor functioning.
- Lubrication: Follow the manufacturer’s guidelines on lubricating moving parts to prevent wear and tear.
- Mesh Replacement: If screening efficiency declines, inspect the mesh and replace it if necessary.
Troubleshooting
| Issue | Possible Cause | Solution |
|---|---|---|
| Excessive vibration | Imbalanced weights | Rebalance the eccentric weights |
| Poor screening | Mesh damage or improper tension | Tighten or replace the screen mesh as required |
| Motor overheating | Poor ventilation or overload | Ensure proper ventilation and check motor load |
Warranty Information
Refer to the manufacturer’s warranty terms for detailed information on repairs, replacements, and maintenance guidelines. This installation manual of tumbler screeners also covers basic troubleshooting and common maintenance tasks.
Summary
By following this installation manual of tumbler screeners, you’ll be equipped to set up and maintain your equipment effectively. For any specific questions or additional details, always refer to the manual provided with your specific tumbler screener model.
For further assistance with the installation or maintenance of tumbler screeners, please reach out to our technical support team.
