Ultrasonic sieve shakers are now widely used across various industries involving dust and fine screening. As a manufacturer of ultrasonic sieve shaker user guides and a leader in ultrasonic vibration technology, we understand that proper use of ultrasonic vibrating screens not only significantly boosts production efficiency but also extends equipment lifespan. Today, we provide this ultrasonic sieve shaker user guide to help you achieve optimal performance during operation.


This guide encompasses both operational procedures and maintenance protocols for ultrasonic sieve shakers. Before delving into usage and upkeep, it is essential to understand the fundamental definition of a sieve shaker.
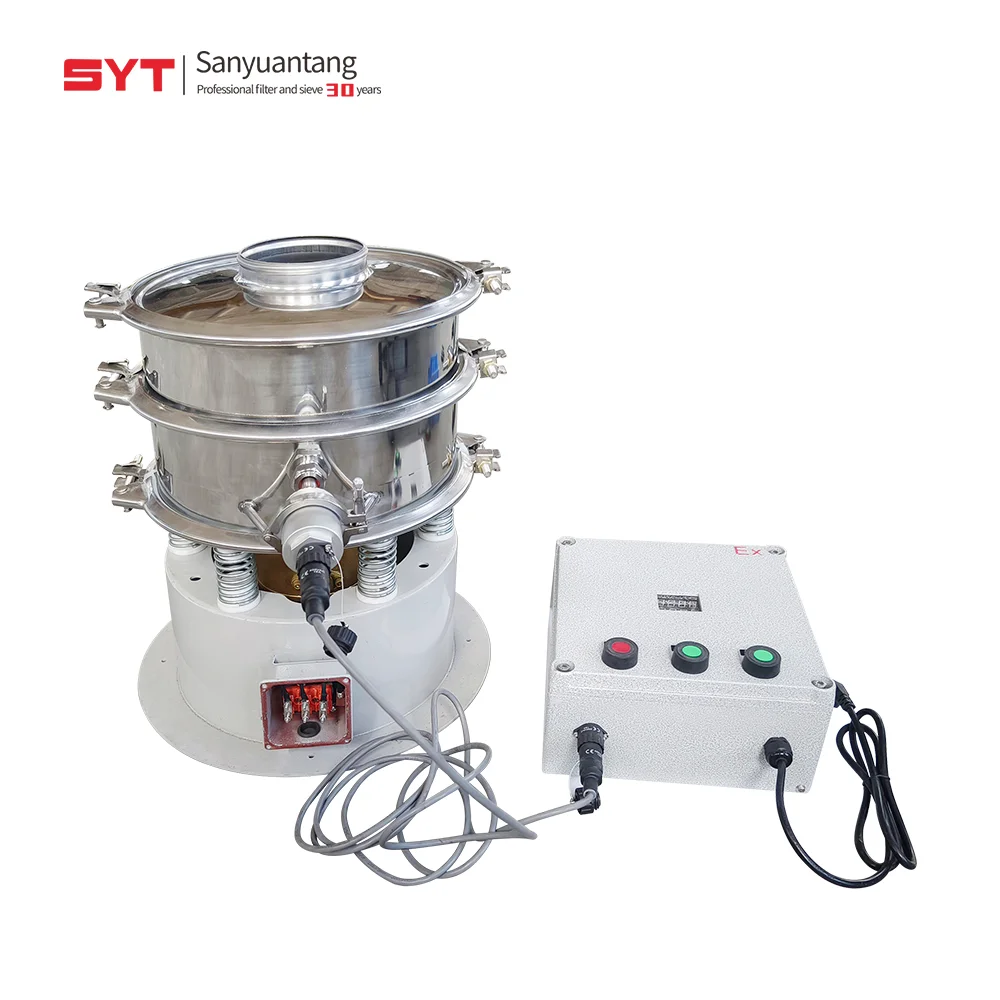
What is an Ultrasonic Sieve Shaker?
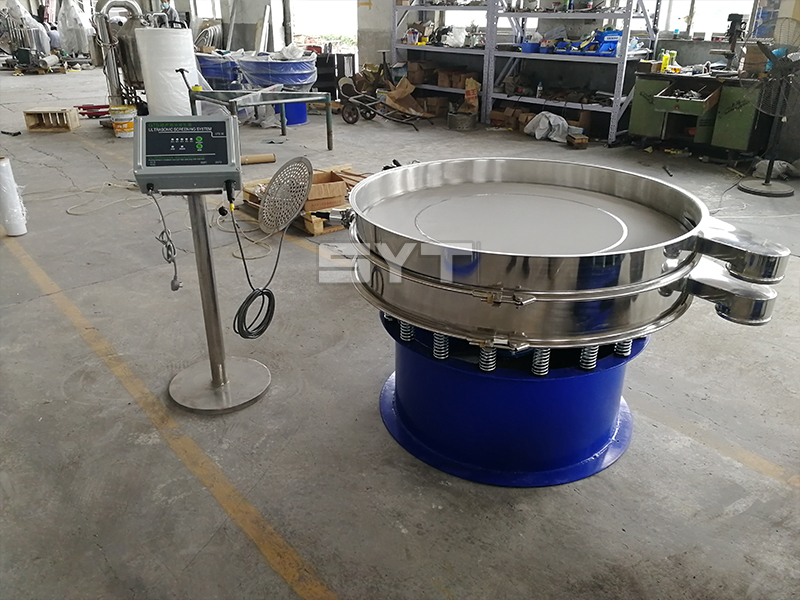
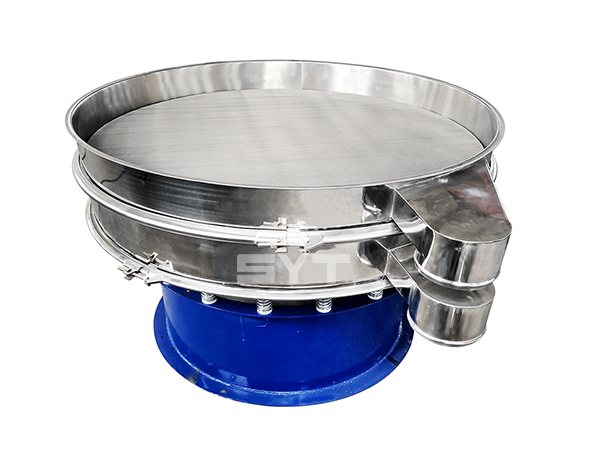
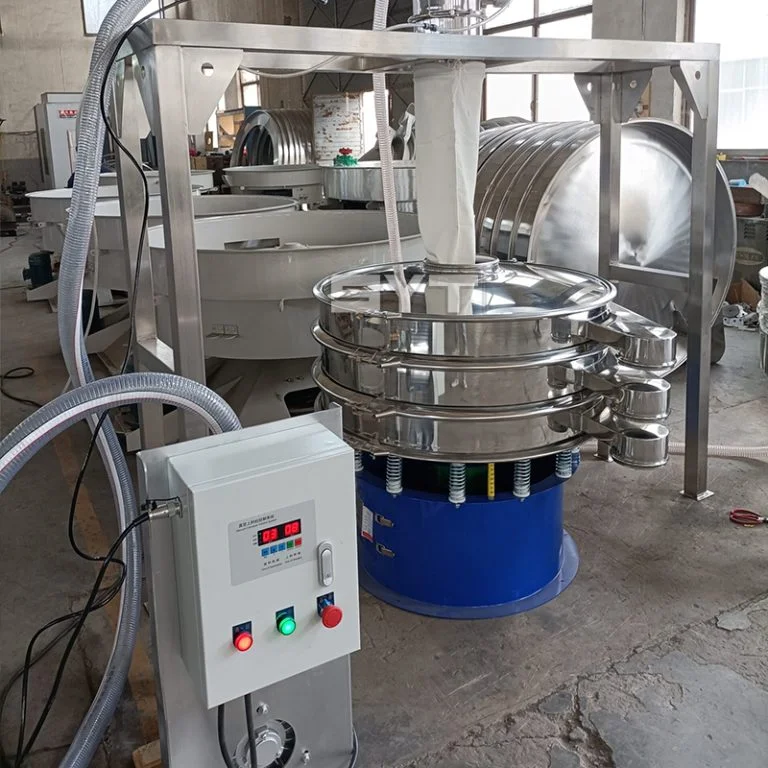
A sieve shaker is a device that separates and classifies material particles through physical vibration or ultrasonic vibration. An ultrasonic sieve shaker incorporates an ultrasonic system into this traditional sieve shaker. Traditional vibrating screens cause materials to move in circular, forward-backward, and left-right motions within the equipment. Ultrasonic vibrating screens, however, enable three-dimensional movement. This not only significantly improves material mesh penetration rates but also greatly reduces the risk of mesh clogging and downtime, while preserving material integrity.
This equipment is particularly common in ultrasonic labs and is widely used in laboratories and production testing across pharmaceuticals, chemicals, food, new materials, and other industries.
Operating Procedures for Ultrasonic Sieve Shakers
Whether used industrially or in laboratories, proper operation of ultrasonic sieve shakers not only enhances production efficiency or experimental outcomes but also extends equipment lifespan.
Step 1:
- Inspect the equipment for integrity;
- Ensure the base is level with the ground;
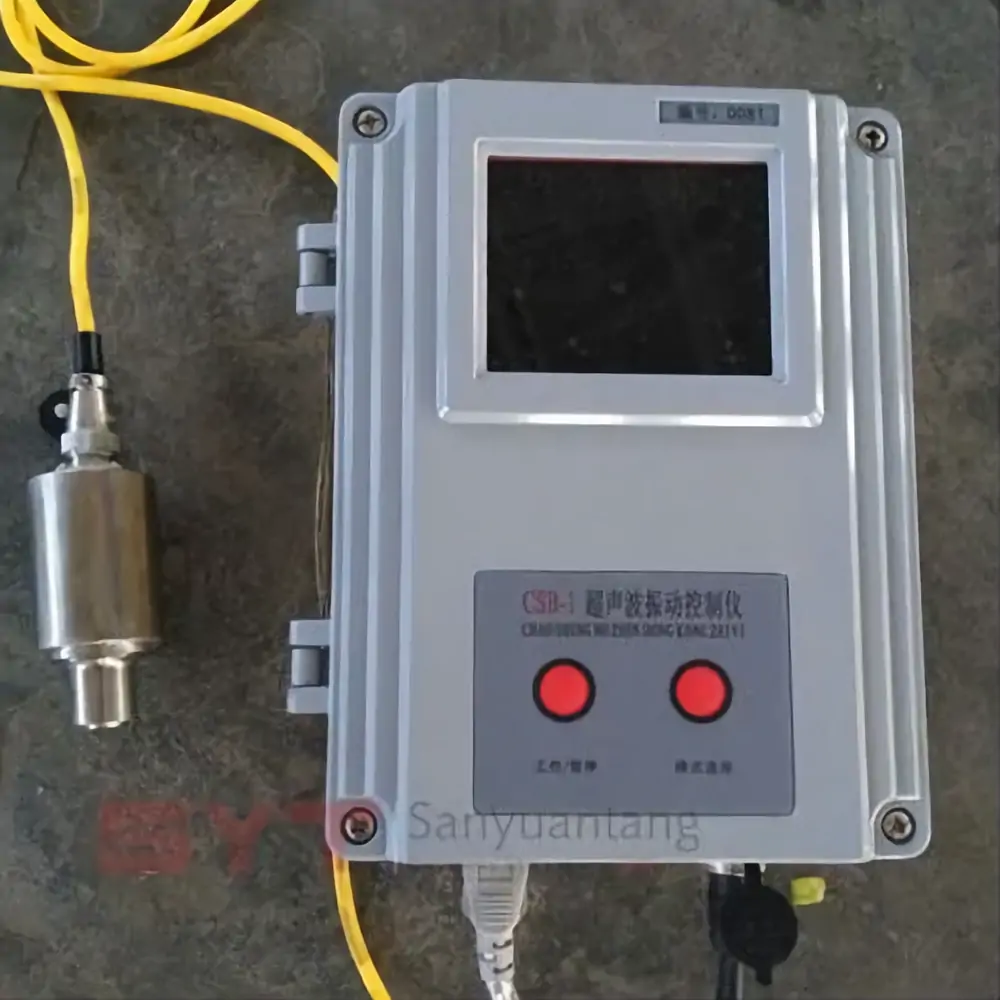
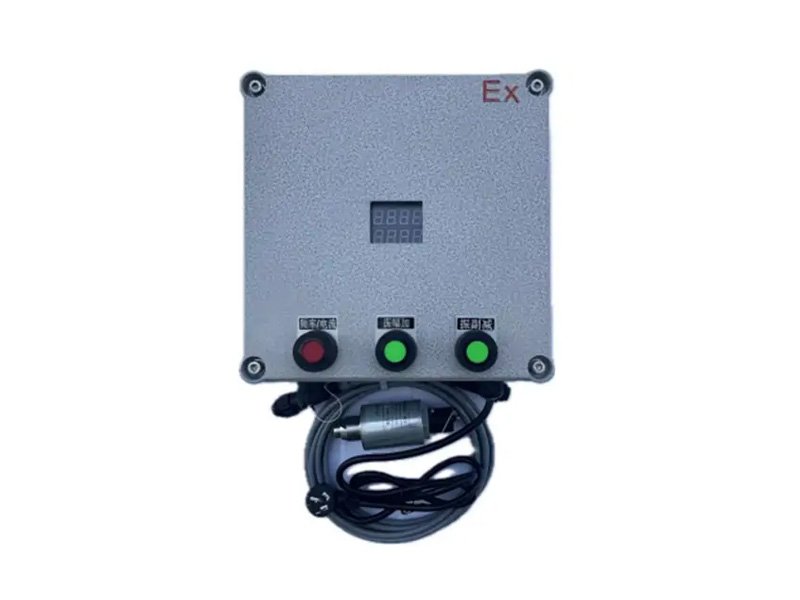
- Verify proper connection of power cables and ultrasonic transducers;
- Open the cover plate to check the screen condition and seal integrity, ensuring no material leakage.
Step 2:
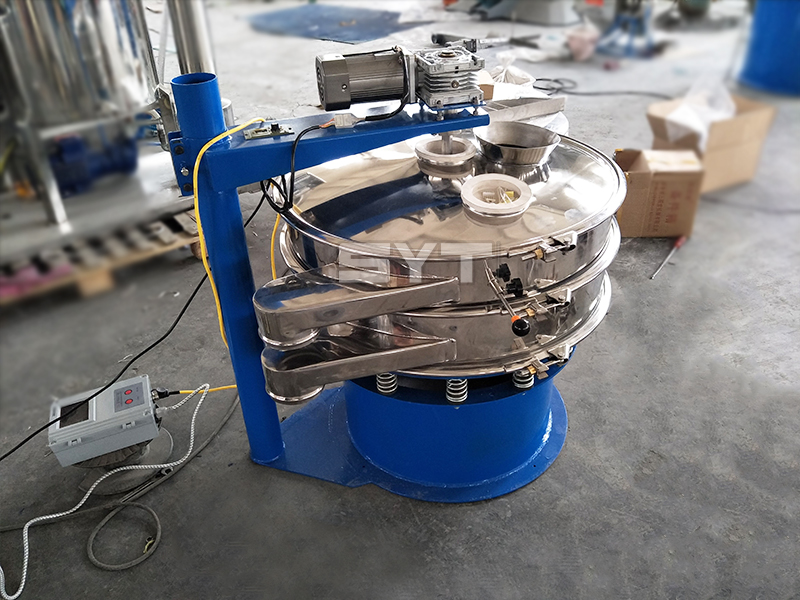
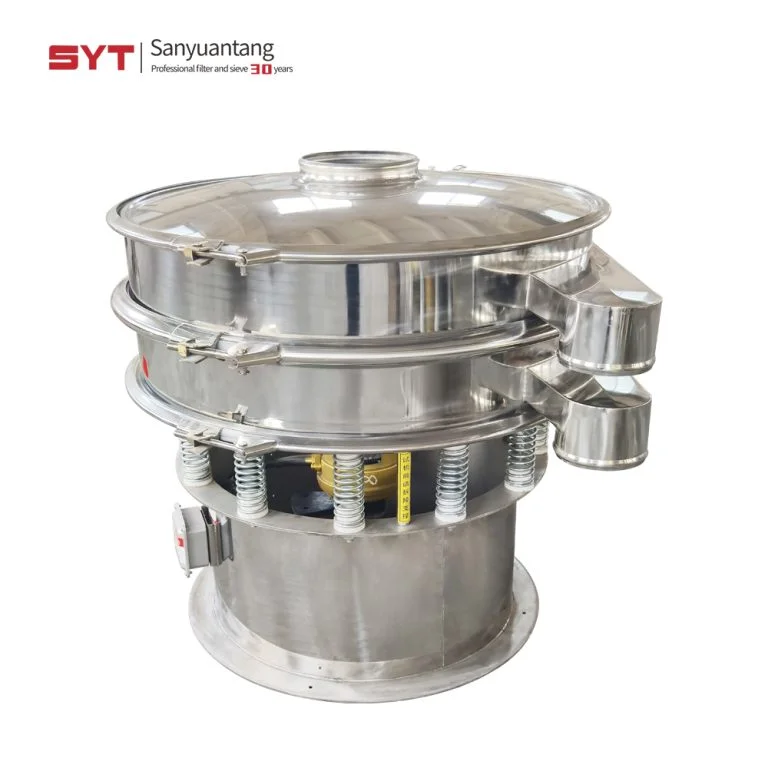
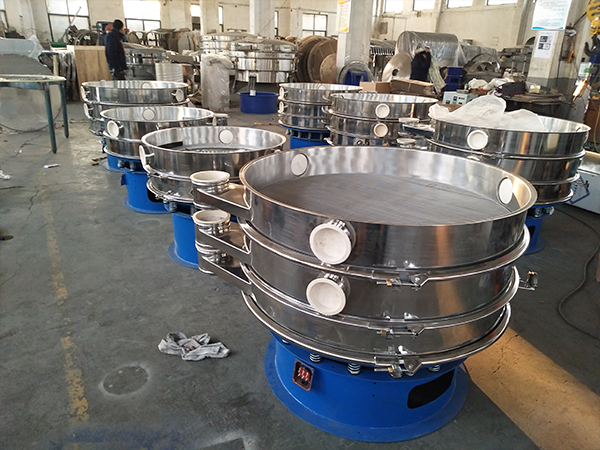
Select the appropriate sieve mesh: Choose the mesh size based on the particle size and characteristics of the material being screened. Selecting the correct mesh count facilitates efficient screening. For separating multiple particle sizes, use multi-layer vibrating sieves capable of screening 3-5 particle sizes simultaneously.
Step 3:
- After inspecting the material and equipment, turn on the power and run the Ultrasonic Sieve Shaker idle for one minute. If no unusual noises or malfunctions occur, the equipment is ready for use.
- After powering on, first activate the vibration motor switch and adjust the vibration frequency according to the material’s properties. Then turn on the ultrasonic switch and set the ultrasonic power to an appropriate level.
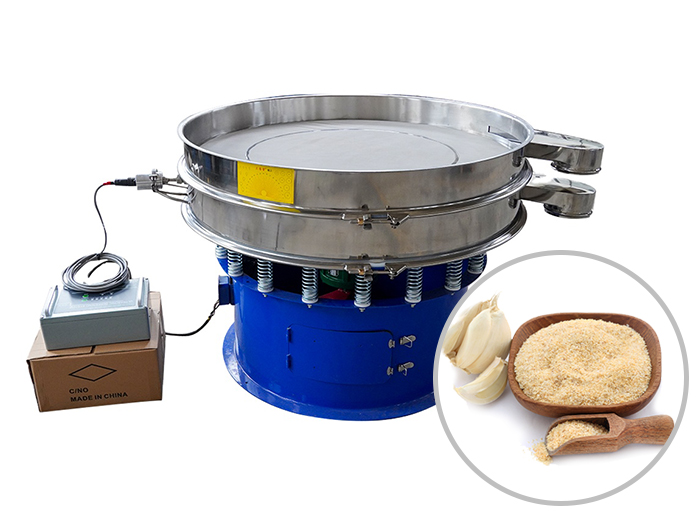
- Slowly pour the prepared material into the ultrasonic sieve shaker’s feed inlet. Ensure the single batch does not exceed the equipment’s maximum capacity, as overloading will reduce screening efficiency and may damage the machine.
Step 4:
- During screening, monitor material distribution on the screen. If localized buildup occurs, gently tap the screen frame (wear gloves to avoid burns or cuts) or slightly adjust the vibration angle. Simultaneously, listen for abnormal noises. If unusual sounds are detected, immediately shut down the machine for inspection. Restart only after troubleshooting is complete.
- After screening concludes, first turn off the ultrasonic switch. Wait 30 seconds before switching off the vibration motor. Once the equipment has completely stopped, clean residual material from the feed inlet and screen surface.

After completion, thoroughly clean the equipment and ensure all components are properly reinstalled for future use.
 Wheat Flour
 Milk Powder
 Oil Fracturing Proppant
 Paint Coating
 Metal Powder
 Molybdenum Powder Screening


The operation of the Ultrasonic Sieve Shaker is now complete. Next, let’s review its maintenance precautions.
Ultrasonic Sieve Cleaner and Equipment Maintenance
Proper cleaning and overall maintenance of the ultrasonic sieve significantly extend the ultrasonic sieve shaker’s lifespan and reduce failure rates:
Ultrasonic Sieve Cleaner Screen Cleaning Method
- After each use, gently brush the screen surface with a soft-bristle brush to remove residual material.
- For highly viscous materials, remove the screen and rinse with clean water (water temperature not exceeding 60°C to prevent high-temperature damage to the screen material). After rinsing, air-dry or use a hairdryer on cool setting; avoid direct sunlight.
- If fine particles clog the mesh apertures, place the screen in a cleaning tank with water and detergent. Activate ultrasonic cleaning (50-100W power, 5-10 minutes) to dislodge residues via ultrasonic vibration. Rinse thoroughly with clean water and air-dry afterward.
Note: Do not use strong acids or alkalis as cleaning agents to prevent corrosion of the screen.
Overall Equipment Maintenance
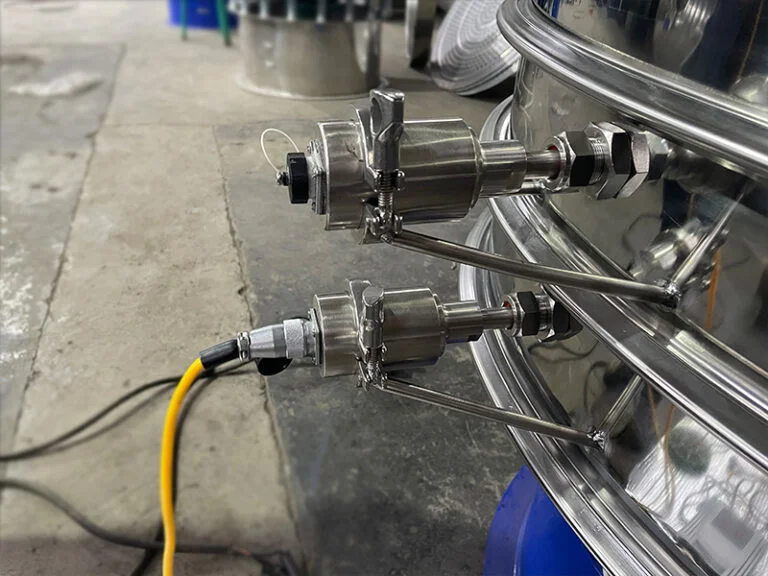
- Weekly inspection: Check the connection between the ultrasonic transducer and the screen for tightness. If loose, tighten using the dedicated wrench.
- Monthly check the lubricant level in the vibration motor. Add specialized lubricant if insufficient.
- Quarterly inspect the insulation of power cords and connection cables. Replace immediately if aged or damaged to prevent electrical leakage risks.


The above outlines our daily cleaning and maintenance procedures. For more detailed operational steps, contact our professional team for personalized one-on-one support.
Conclusion:
The Ultrasonic Sieve Shaker is one of the most frequently used devices in modern industry. Understanding and using it correctly not only enhances operational efficiency for businesses but also extends the equipment’s lifespan. As a leading enterprise in China’s Vibrating Screen Capital, we bring over 30 years of expertise in vibrating screening manufacturing and service, offering comprehensive vibrating screening solutions. If you currently face related challenges, contact us now. We will provide you with professional and cutting-edge solutions.