By now, many of you are likely familiar with the applications and operating principles of screw conveyors. Today, we’ll discuss how to build a screw conveyor:
We’ll break it down into the following steps: What is the purpose of building a screw conveyor? Preparations before construction. How to install the screw conveyor? The final step is an empty machine test.
What is the purpose of constructing a screw conveyor?
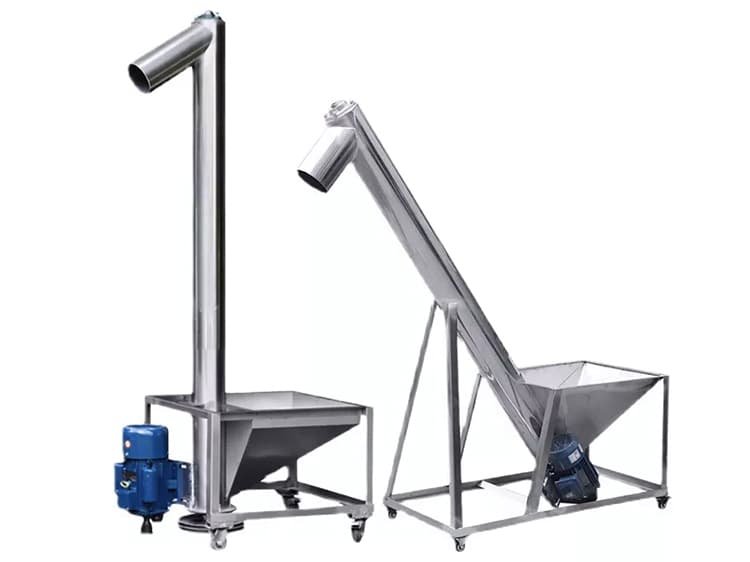
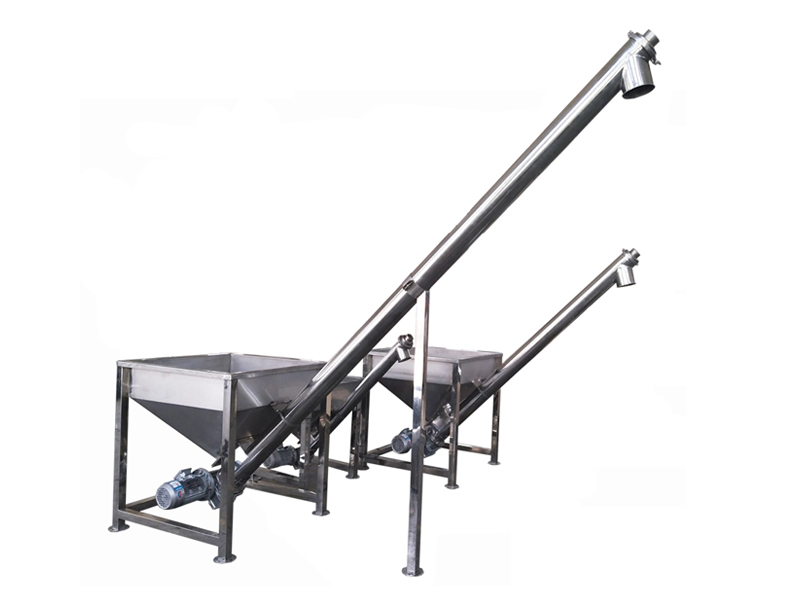
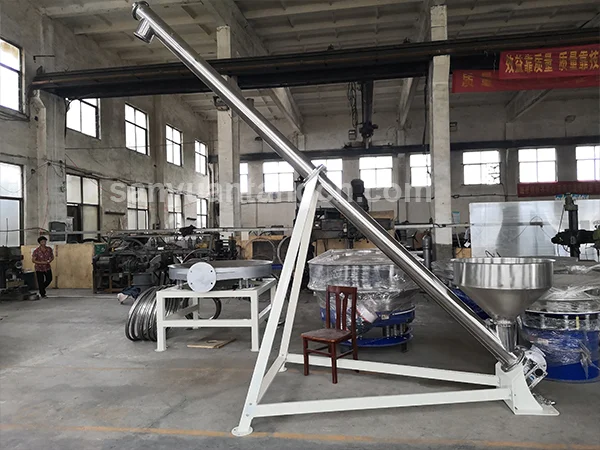
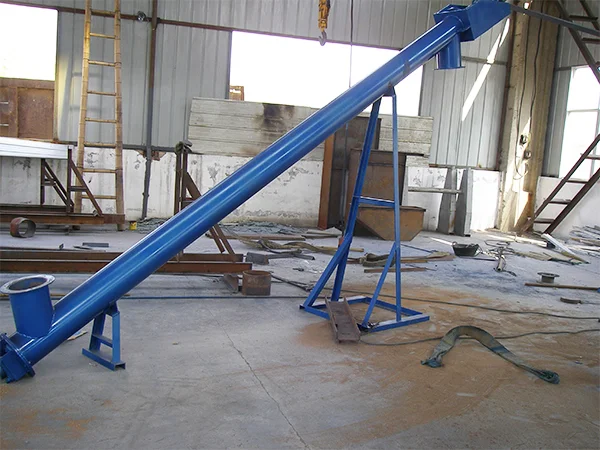
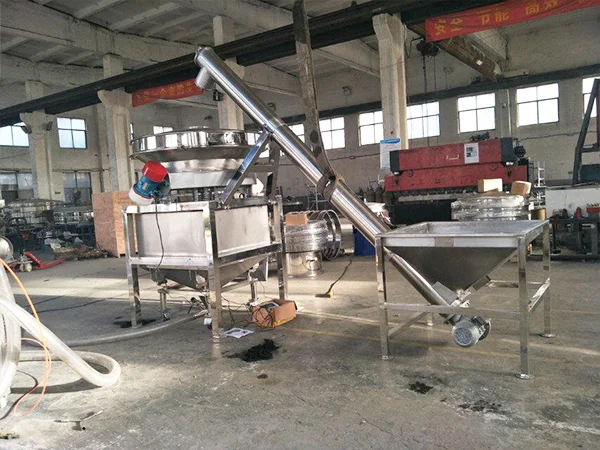
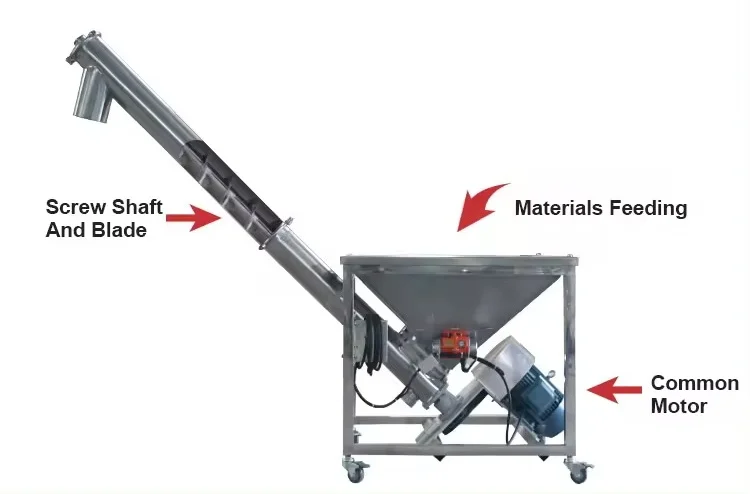
A screw conveyor is primarily used for the continuous and purposeful transportation of bulk materials, such as powder, granules, and small blocks. It can transport materials horizontally, at an angle, or vertically, and can perform basic functions such as heating/cooling or mixing during the transportation process.
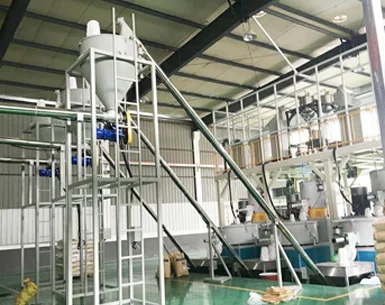
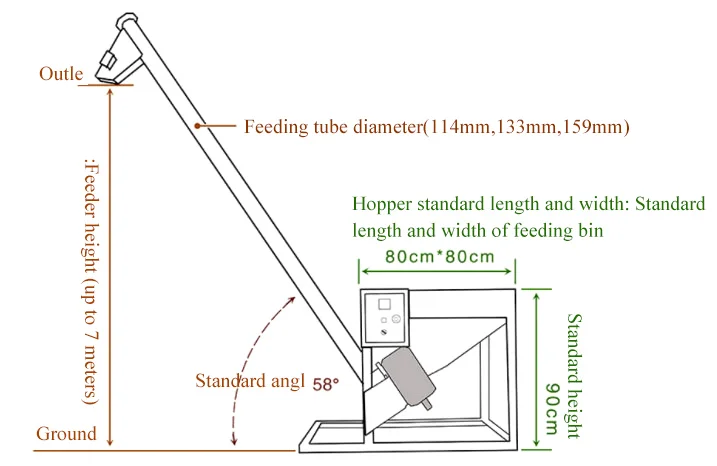
Once we understand the application scenario, we should also consider factors such as conveying capacity, material properties (e.g., bulk density, particle size, moisture content, temperature, and flowability), and layout—including the required installation site, conveyor length, inclination angle, and feed/discharge port locations.
After considering these parameters and factors, we can proceed with the preparation for constructing the screw conveyor.
Pre-construction preparation:
Pre-installation preparation
- Technical preparation: Read and understand the screw conveyor installation manual and related technical documents to gain a thorough understanding of the equipment’s structure and functionality.
- Site inspection: Inspect the foundation and surrounding environment of the installation site to ensure the ground is level and sturdy, preventing equipment imbalance due to an unstable foundation.
- Tools and materials: Prepare the necessary tools (such as wrenches, screwdrivers, spirit levels, etc.) and materials (such as bolts, washers, etc.) to ensure everything is complete.
Equipment Component Inspection
- Component Inventory: Compare the equipment list to verify that all components are present, including the screw shaft, housing, drive unit, support frame, etc.
- Component Quality Inspection: Inspect the surface of each component for obvious damage or defects, ensuring there are no cracks, deformations, or corrosion issues.


Installation Steps
1. Foundation Installation:
Before installing the screw conveyor, the foundation must be secured. Typically, the foundation is made of concrete or steel, ensuring sufficient load-bearing capacity.
2. Support Frame Installation:
Install the support frame on the foundation according to the design drawings, maintaining its horizontal and vertical alignment. Use a spirit level for inspection and adjust the support feet as needed.
3. Housing Installation:
Secure the screw conveyor housing to the support frame, ensuring no loosening between the housing and foundation. Use shims to adjust the height as needed.
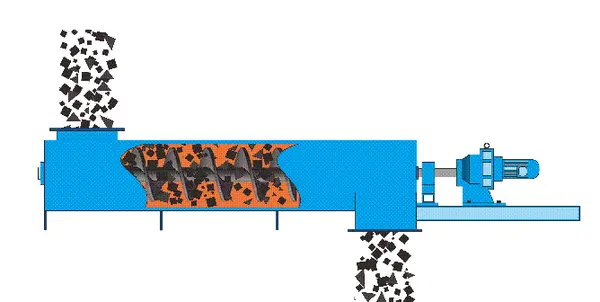
4. Screw Shaft Installation:
Install the screw shaft inside the housing, ensuring coaxial alignment with the housing. Support both ends of the screw shaft with brackets to prevent sagging.
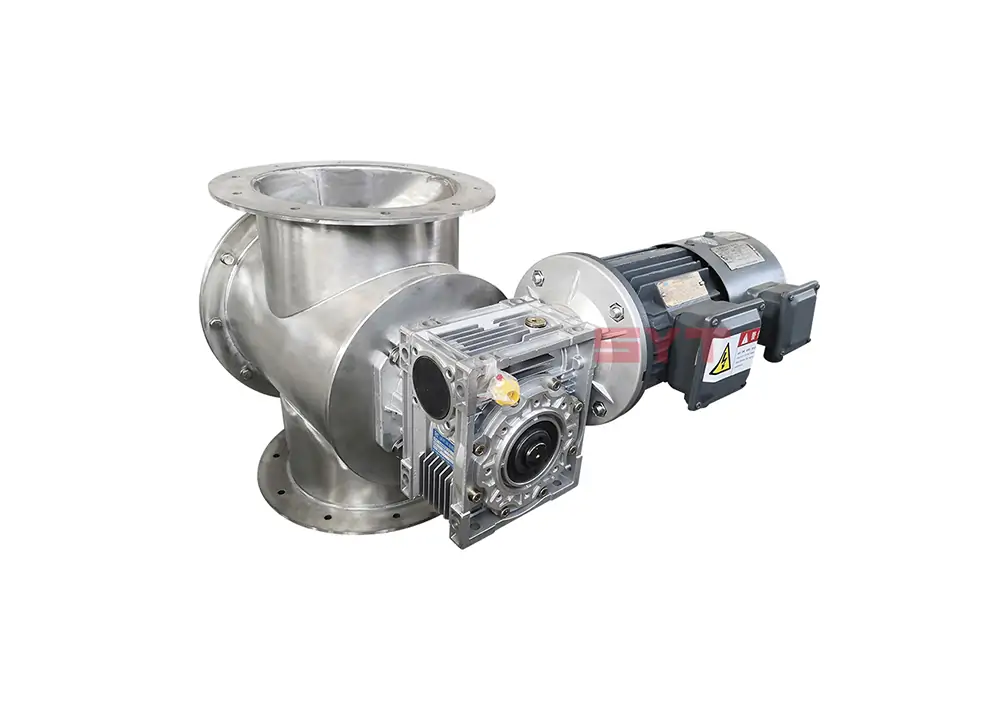
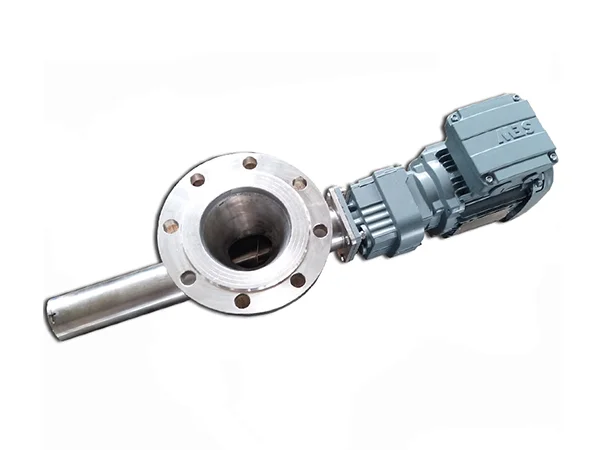
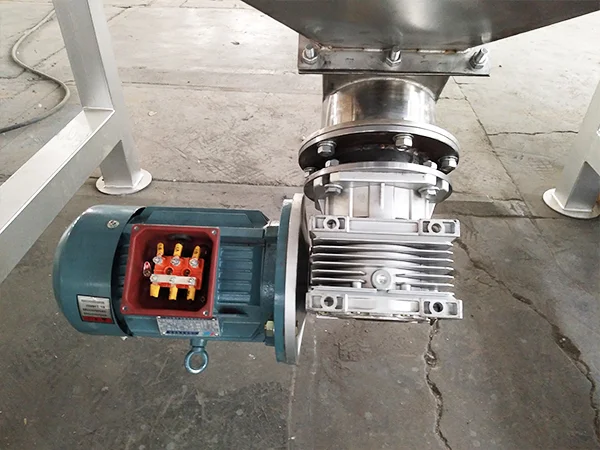
5. Connect the drive unit:
Secure the motor or other drive unit in the designated position, ensuring proper connection to the screw shaft. Typically, the drive unit is connected to the screw shaft via a coupling.
6. Install the discharge and feed ports:
Install the feed and discharge ports according to the material conveying direction, ensuring proper sealing to prevent material leakage.
7. Adjust the tensioning device:
If the equipment is equipped with a tensioning device, adjust its tensioning degree according to actual conditions to ensure smooth operation and transmission of the spiral shaft.

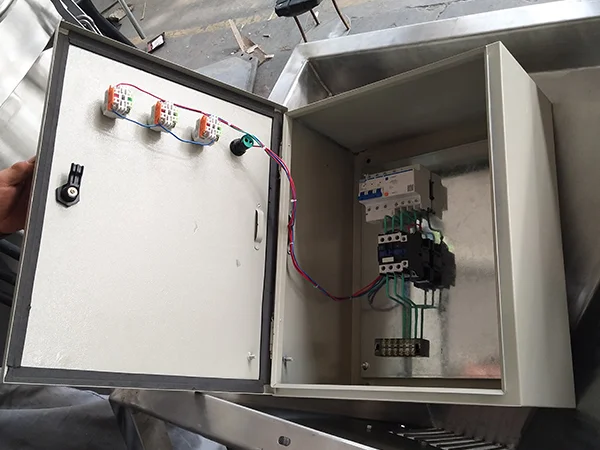
Electrical Connections
1. Electrical circuit installation:
Connect the motor’s electrical circuits to the control system. Inspect all cables to ensure their insulation is intact to prevent short circuits or electrical leaks.
2. Safety protection measures:
Install necessary safety protection devices, such as overload protection and emergency stop switches, to ensure that power can be promptly disconnected during operation.
Pre-Operation Inspection
1. Comprehensive Inspection:
Before formal operation, conduct a comprehensive inspection of the equipment to ensure all connection components are secure and electrical circuits are functioning normally.
2. Manually Rotate the Screw Shaft:
Manually rotate the screw shaft to observe whether it rotates smoothly. If any sticking occurs, identify the cause and make adjustments.
3. Lubrication:
Lubricate the bearings and gears according to equipment requirements, ensuring the type and quantity of lubricant meet standards.
Trial Operation
1. No-Load Trial Operation:
First perform a no-load trial operation to observe whether the equipment runs smoothly, with no abnormal noise or vibration. Adjust promptly if issues arise.
2. Loaded Test Run:
After the no-load test run is normal, perform a loaded test run, gradually increasing the material conveying volume to check the conveying effect and equipment operating status.
3. Monitor Operating Conditions:
During the test run, monitor parameters such as current, voltage, and temperature to ensure the equipment operates within normal ranges.

Conclusion:
Proper installation of the screw conveyor is critical for its normal operation. By following the above steps, from preparation to trial operation, each phase should be strictly executed according to standards to effectively reduce faults and maintenance costs during subsequent use. After the equipment is installed, regular maintenance and inspections should be conducted to extend the equipment’s service life and improve production efficiency. We hope this information helps you quickly set up the screw conveyor.
We are a professional manufacturer. If you have any further questions, please contact us immediately. We offer professional technical guidance and solutions to assist you.