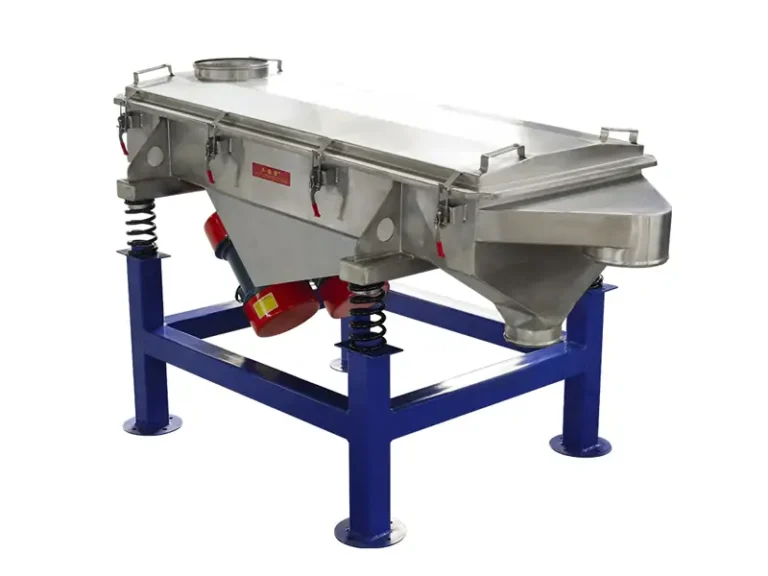
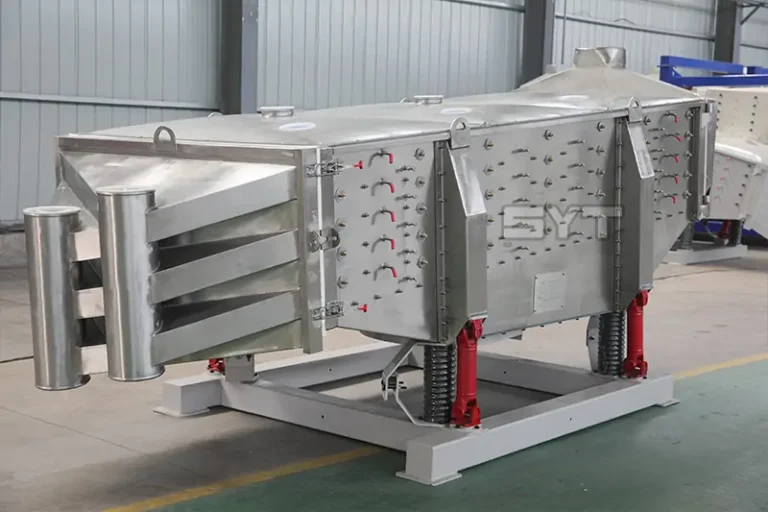
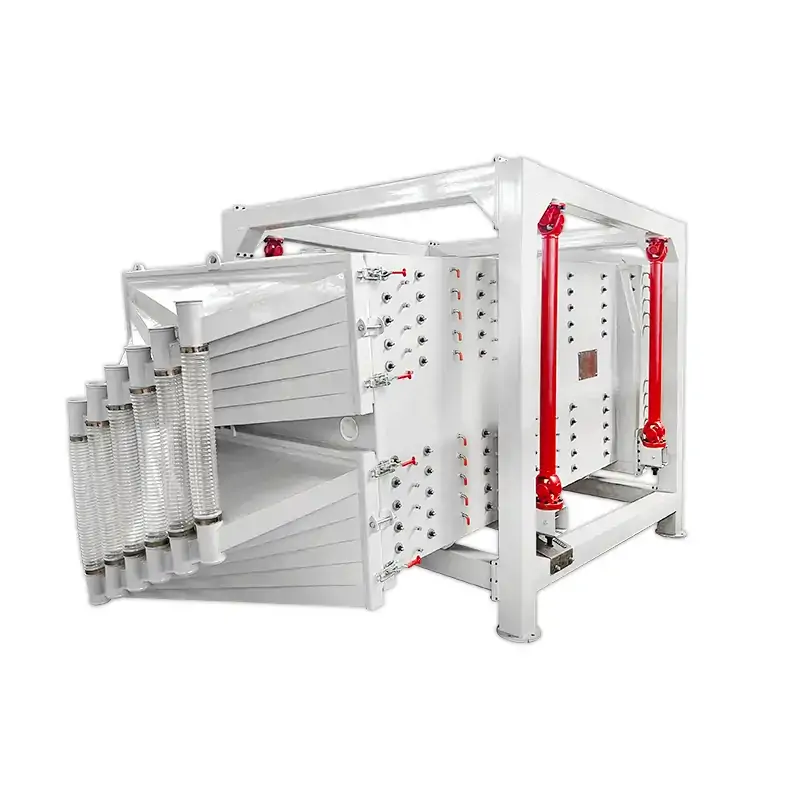
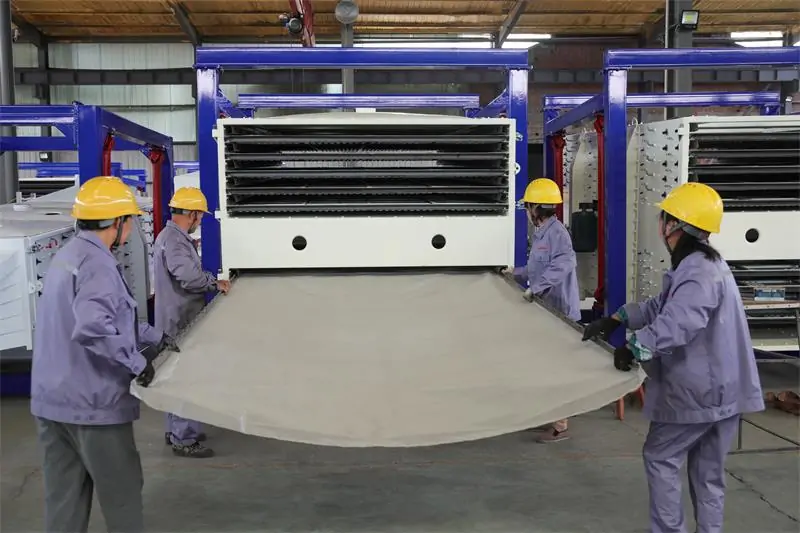
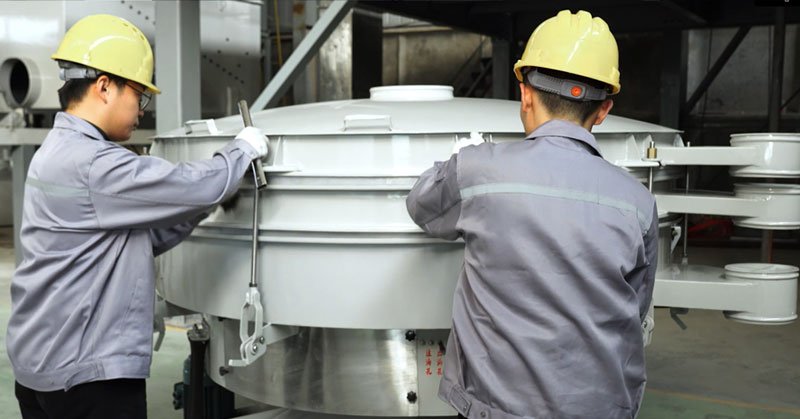
We are a leading manufacturer of vibrating screens in China’s Vibrating Screen Capital, with over 30 years of experience in vibrating screen production. Today, we will share a summary of common issues and solutions related to vibrating screens, hoping it will be helpful to everyone.


Common faults and solutions of vibrating screens
Noisy vibrating screen
Causes:
- Loose bolts causing component collisions;
- Worn bearings or insufficient lubrication causing friction noise;
- Loose or damaged screen plates/screens;
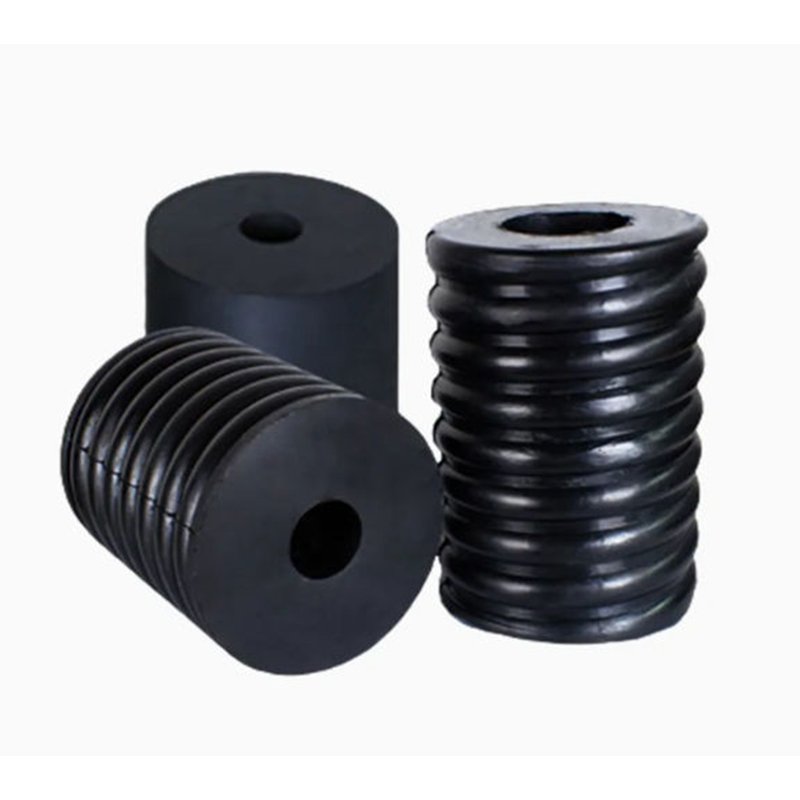
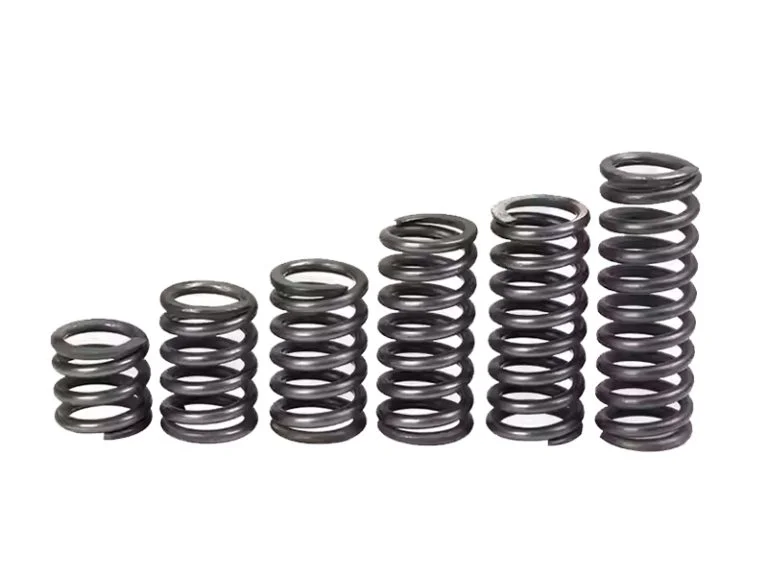
- Aged or broken vibration damping springs;
- Unstable equipment foundation causing resonance.
Solutions:
- Tighten all bolts thoroughly, with a focus on the vibrator and screen box;
- Replace damaged bearings and add an appropriate amount of lubricant;
- Tighten or replace the screen mesh and repair damaged structures;
- Replace failed springs and adjust the equipment’s level;
- Reinforce the foundation to ensure the ground meets load-bearing standards.
Loose bolts
Causes:
- Long-term high-frequency operation of the vibrating screen causes metal fatigue;
- Bolts were not tightened according to torque requirements during installation;
- Anti-loosening washers or thread lockers were not used;
- Equipment resonance exacerbates loosening.
Solutions:
- Regularly shut down the equipment for inspection and retighten bolts;
- Use a torque wrench to tighten bolts to the standard torque;
- Install spring washers or apply thread locker;
- Adjust equipment balance to reduce abnormal vibration.
Bearing overheating
Causes:
- Insufficient or degraded lubricant blocking oil passages;
- Improper bearing installation (too tight/too loose);
- Seal failure allowing dust ingress;
- Overloading or uneven excitation force distribution.
Solutions:
- Clean the bearing housing and replace with high-temperature-resistant lubricant (e.g., lithium-based grease);
- Reinstall bearings to ensure radial clearance of 0.1–0.15 mm;
- Replace the seal ring and install a dust cover;
- Adjust the material load and check the symmetry of the exciter counterweight blocks.
Lubrication
Causes:
- Blocked oil injection holes or damaged oil seals;
- Incorrect use of lubricant type (mismatched viscosity);
- Excessively long or excessive oiling intervals causing poor heat dissipation.
Solutions:
- Clean the oil passages and replace damaged seals;
- Use high-temperature, wear-resistant lubricant;
- Strictly follow the manual’s lubrication cycle;
- Control the oil volume to 1/3 to 1/2 of the bearing cavity volume.
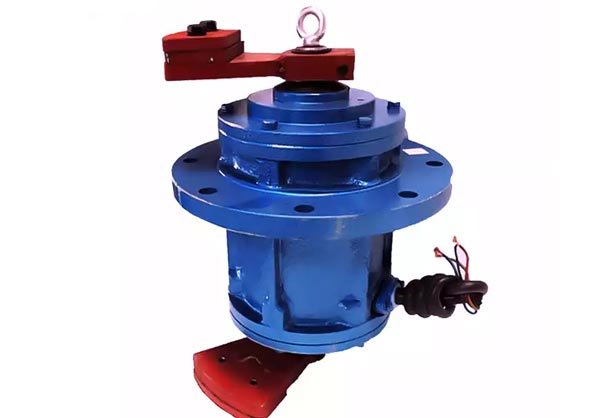
Bearing failure of vibrating screen exciter
Causes:
- Bearing quality does not meet standards (insufficient clearance precision);
- Excessive axial preload causing overheating;
- Eccentric block phase angle deviation causing impact loads;
- Bearing housing deformation or shaft bending.
Solutions:
- Select C3 large clearance bearings specifically designed for vibrating screens;
- Adjust the axial cover gap to 0.3–0.5 mm;
- Calibrate the eccentric blocks to the same phase angle (error < 1°);
- Straighten the drive shaft and repair the deformed bearing housing.
Excessive vibration
Causes:
- Unbalanced excitation force (counterweight blocks have fallen off or shifted);
- Uneven stiffness or broken vibration damping springs;
- Material buildup causing center of gravity shift;
- Incorrect variable frequency drive (VFD) parameter settings.
Solutions:
- Inspect counterweight block fastening and re-adjust for symmetry;
- Replace springs from the same batch to ensure consistent free height;
- Clear material buildup from the screen surface and adjust feed uniformity;
- Calibrate VFD frequency (typically 45–50 Hz) to avoid operation at resonance points.
Bearing radial clearance problem
Causes:
- Bearing wear exceeds limits (clearance > 0.3 mm);
- Shaft neck or bearing housing bore wear and deformation;
- No compensation space reserved for thermal expansion.
Solutions:
- Replace with new bearings (select C3 group clearance);
- Apply coating repair to shaft neck or bore sleeve treatment;
- Leave a thermal expansion gap of 0.05–0.1 mm during installation;
- Shut down and remeasure the clearance after running for 30 minutes.
Clean surfaces
Causes:
- High moisture content and high viscosity of the material;
- Screen mesh size is too high or the screen cleaning device is malfunctioning;
- Excessive feed rate or unreasonable inclination angle.
Solutions:
- Pre-treat the material (dry or add a de-clumping agent);
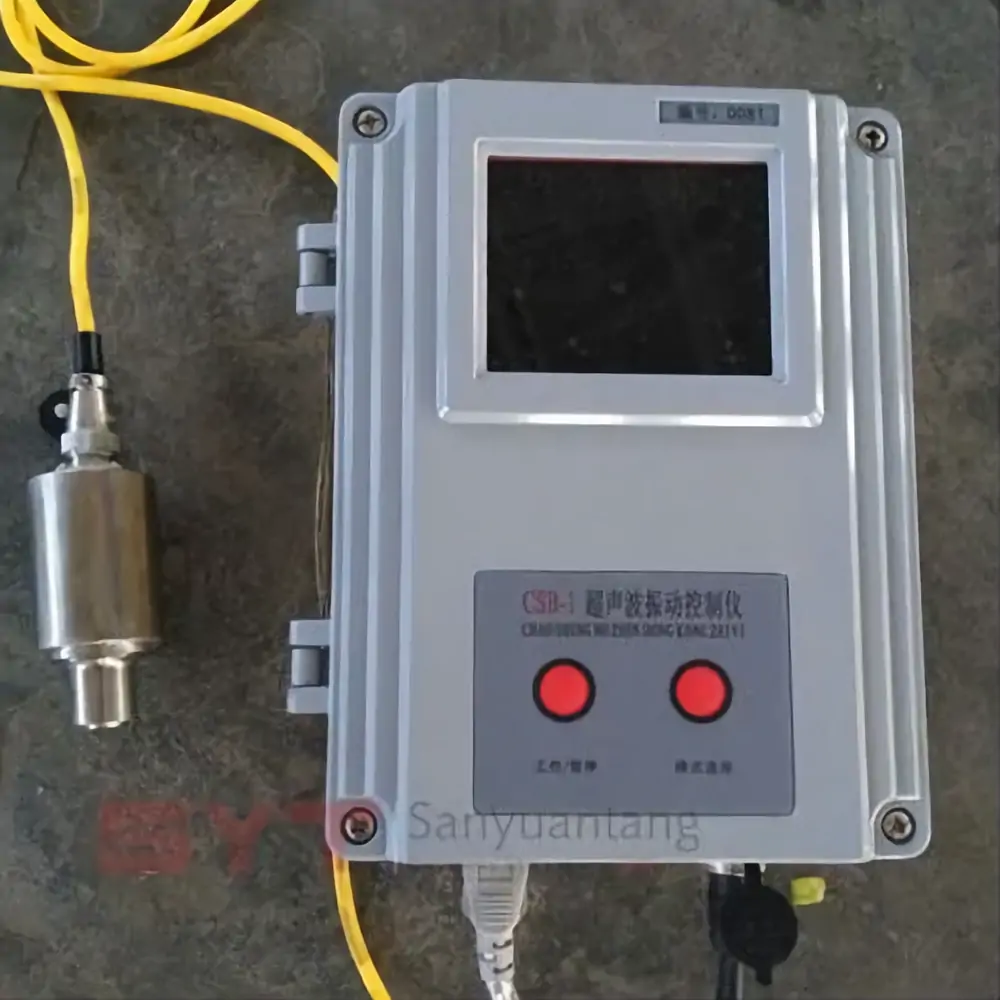
- Install bounce balls or an ultrasonic screen cleaning system;
- Control feed rate ≤ 80% of design capacity;
- Adjust screen box angle (typically 15°–25°), and perform regular high-pressure water rinsing.
Improper installation
Causes:
- Uneven foundation or loose anchor bolts;
- Spring support height deviation > 3 mm;
- Motor and vibrator shafts not parallel;
- Inlet and outlet soft connections are too tight.
Solutions:
- Use a level to adjust the foundation and secure the anchor bolts with secondary grouting;
- Measure the spring compression height (error ≤ 2 mm);
- Laser align the motor and vibrator (deviation < 0.1 mm/m);
- Replace the flexible connection sleeve, leaving a 10–15 mm expansion allowance.


Preventive maintenance recommendations
Daily: Inspect bolts, abnormal noises, and temperature;
Weekly: Replenish grease and clean the screen mesh;
Monthly: Inspect bearing clearance and calibrate the vibrating force;
Annually: Replace all springs and perform dynamic balancing tests.
Systematic maintenance can reduce failures by 90% and extend equipment lifespan by 3–5 years.
If you have more vibrating screen problems, contact us now—we have a professional team ready to assist you.nd the service life of the components and promptly carry out maintenance work to ensure smooth production operations.